Frank He lets his curiosity get the better of him as he tears apart his consumer Samsung Gear VR headset for your information and in the interests of science and for those perhaps interested in considering modifying their units.
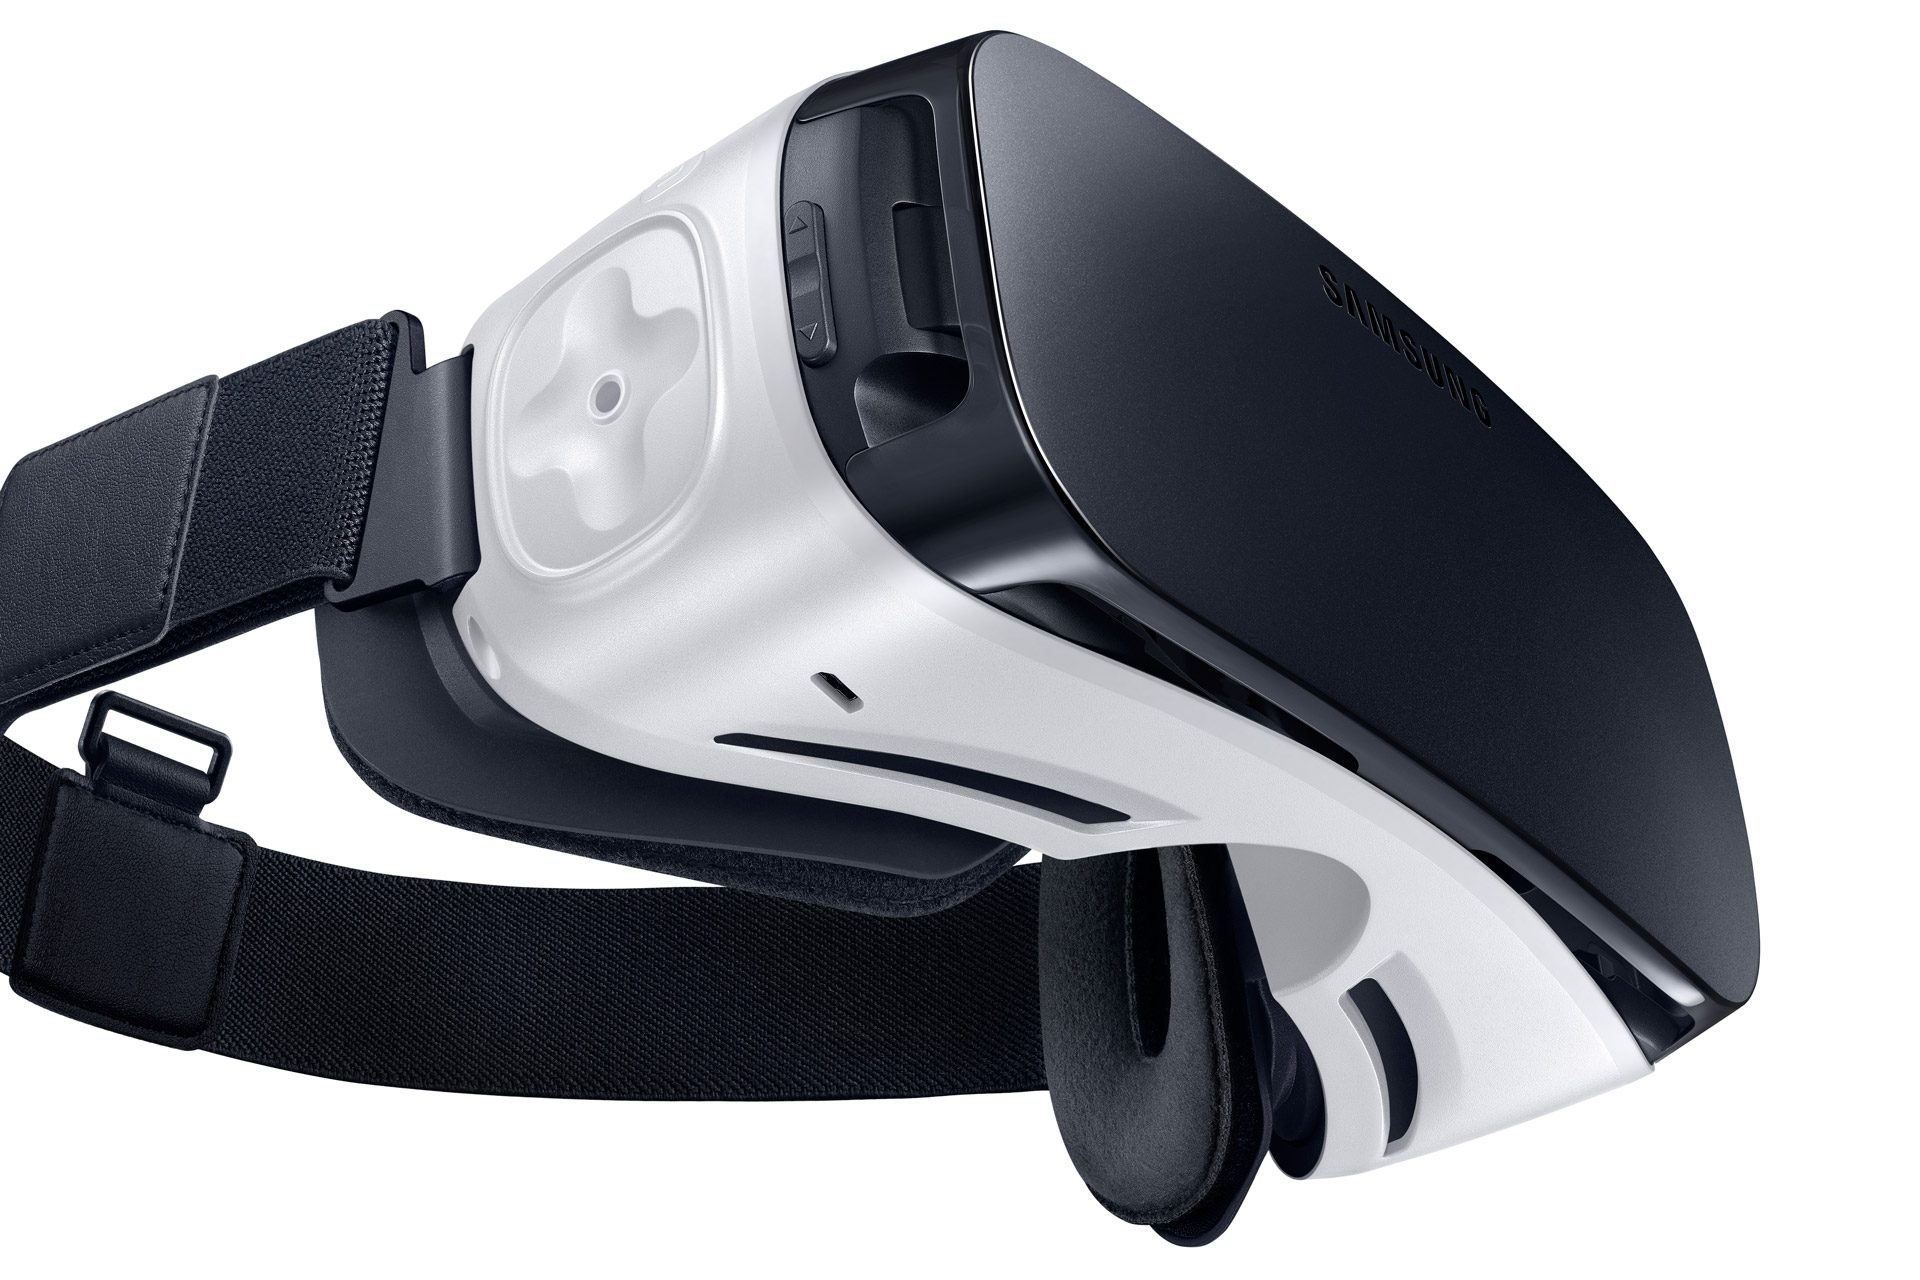
The 3rd iteration of Oculus and Samsung’s collaboration in mobile virtual reality, the consumer edition of the Gear VR was launched late last year and boasts compatibility with Samsung’s 2015 line of S6 smartphones. The unit is lighter and cheaper ($99) than it’s early adopter focused “Innovator Edition” predecessors and is designed to present the lowest bar possible for high quality virtual reality adoption.
To state the obvious, disassembling your Gear VR will void any warranty.
Guest Article by Frank He
 Now a second year UCLA undergraduate in a neuroscience program, Frank was born in Los Angeles and then raised in Canada, spending his high school years across the border in New York. His main interest is in technologies that enable immersive experiences, and Frank’s academic path is towards better understanding the brain, how it works, and then enabling us to do something for the betterment of life through that knowledge. Besides studying, Frank makes efforts towards supporting the VR community locally and online, where he regularly participates in discussions about VR.
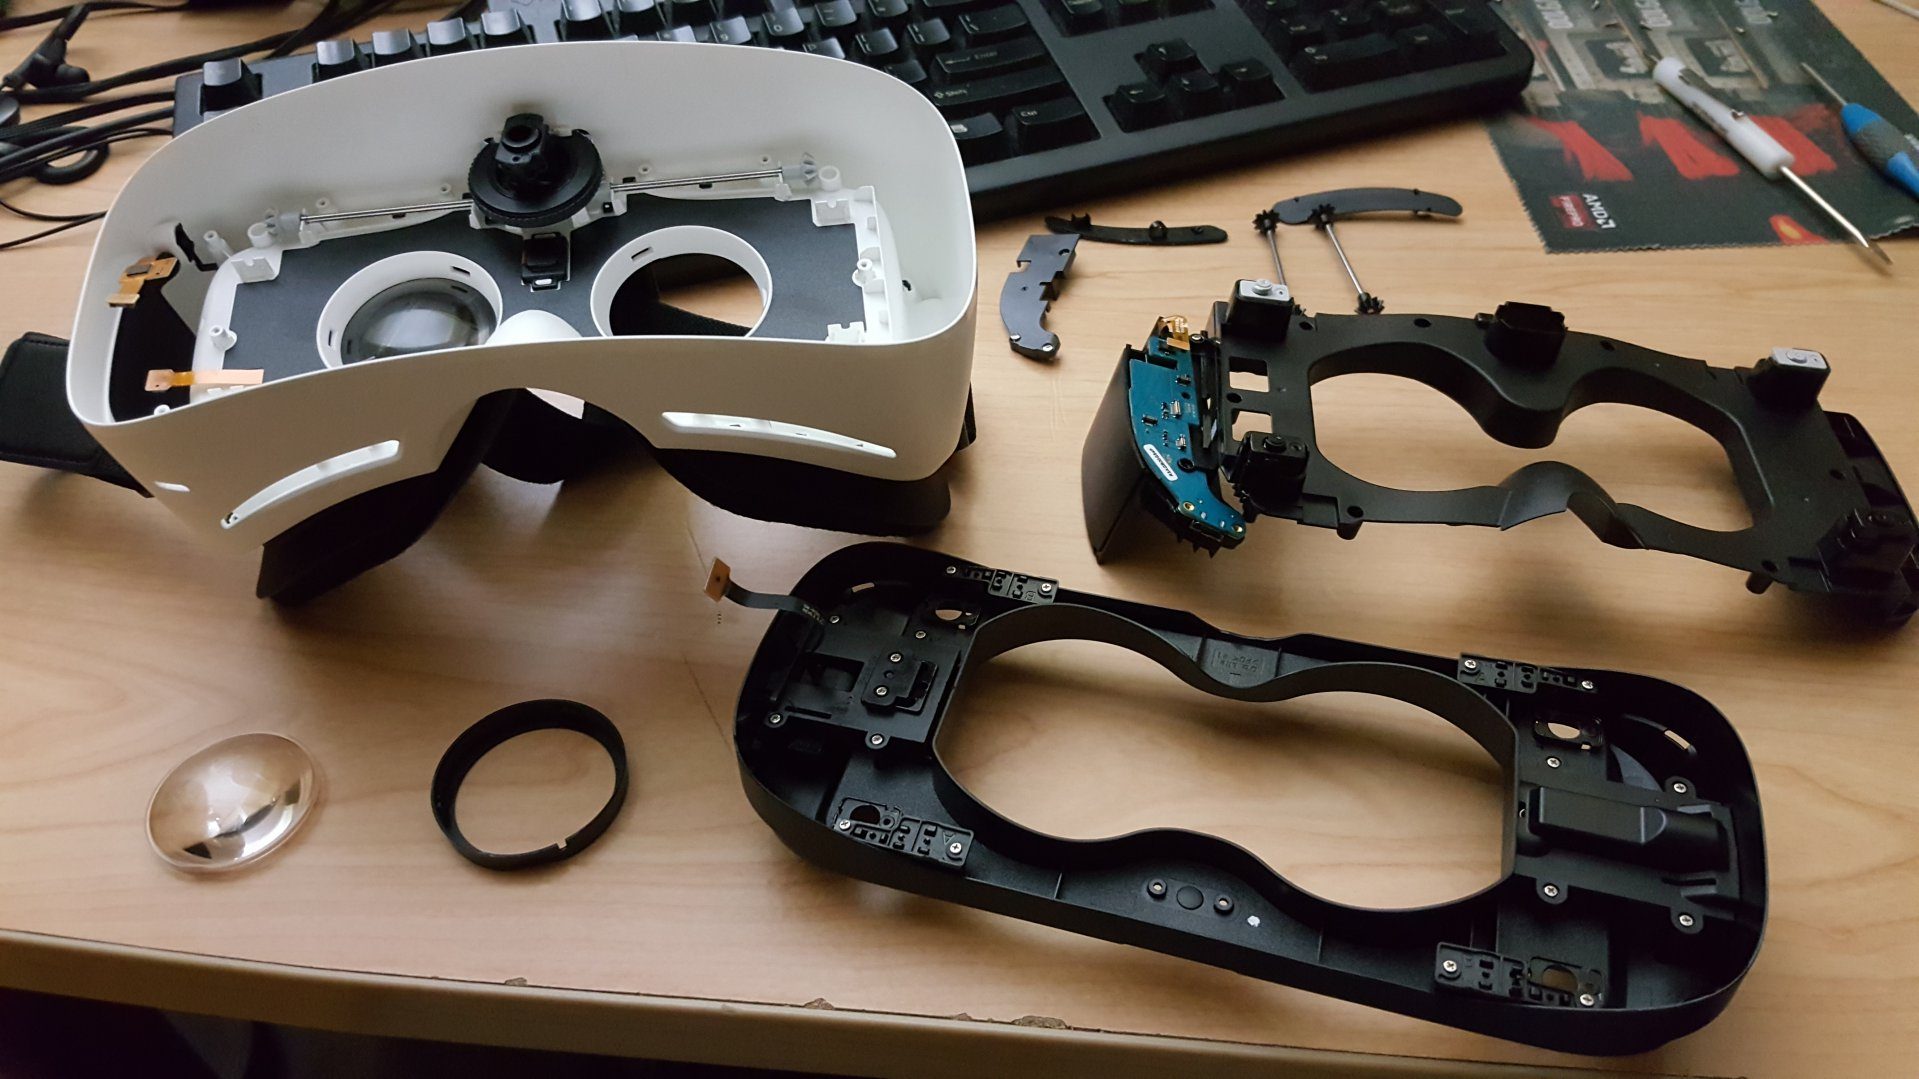 Here is the consumer Gear VR taken almost completely apart, except for the focus wheel and some minor mechanical components, as well as the straps and rubber gasket.
Tearing down starts with these screws, which total up to 6 and are hidden behind the pads pictured. The two in the top middle were behind some sort of black tape. Warning: you will void your warranty if you remove that tape.
 The top layer now removed. The cable on the left leads to the micro USB connection on the Gear VR.
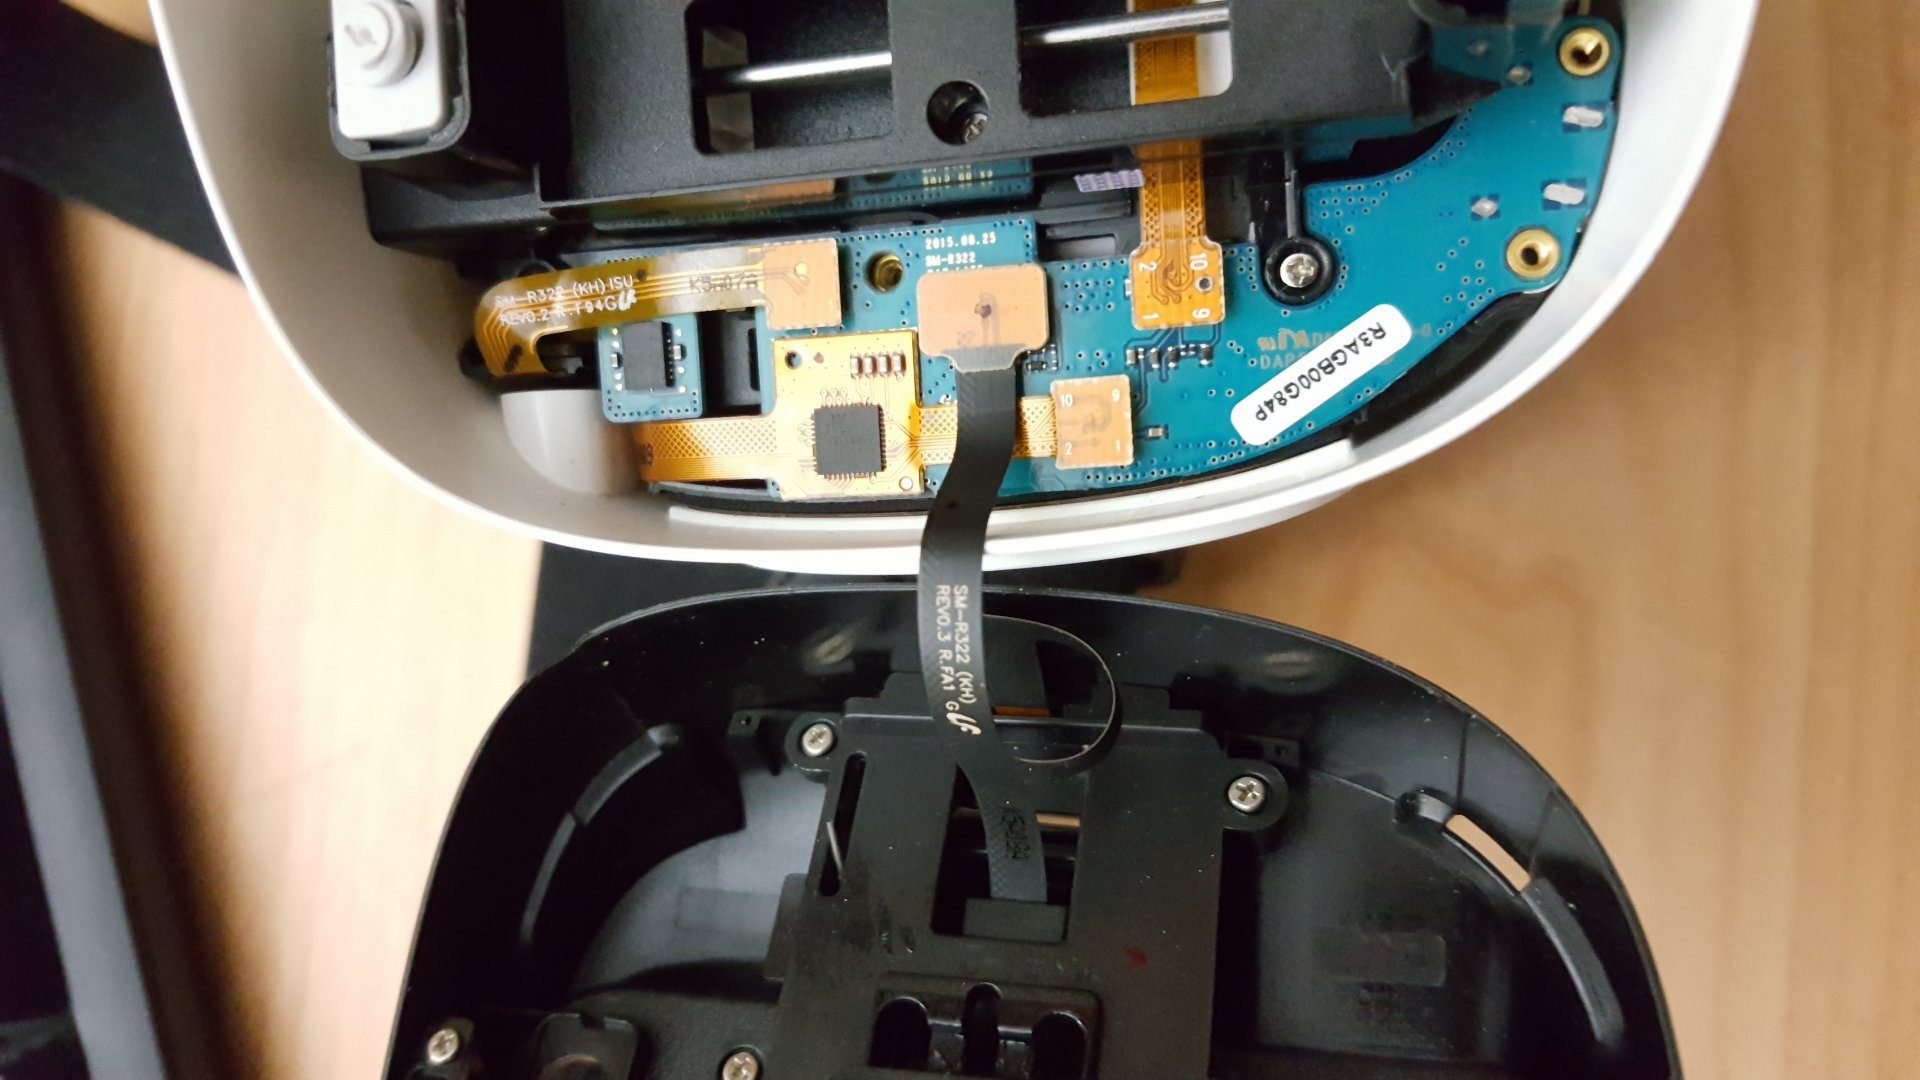 That cable was connected as shown – to the single and main PCB inside the device. The other cables, going from right to left, lead to the proximity sensor, the touch pad, and the back/menu button. In between the two screw holes on the bottom, just behind the circuit board, is the micro USB connection for the pass-through power.
 One cable removed – they snap on and off.
 All cables disconnected.
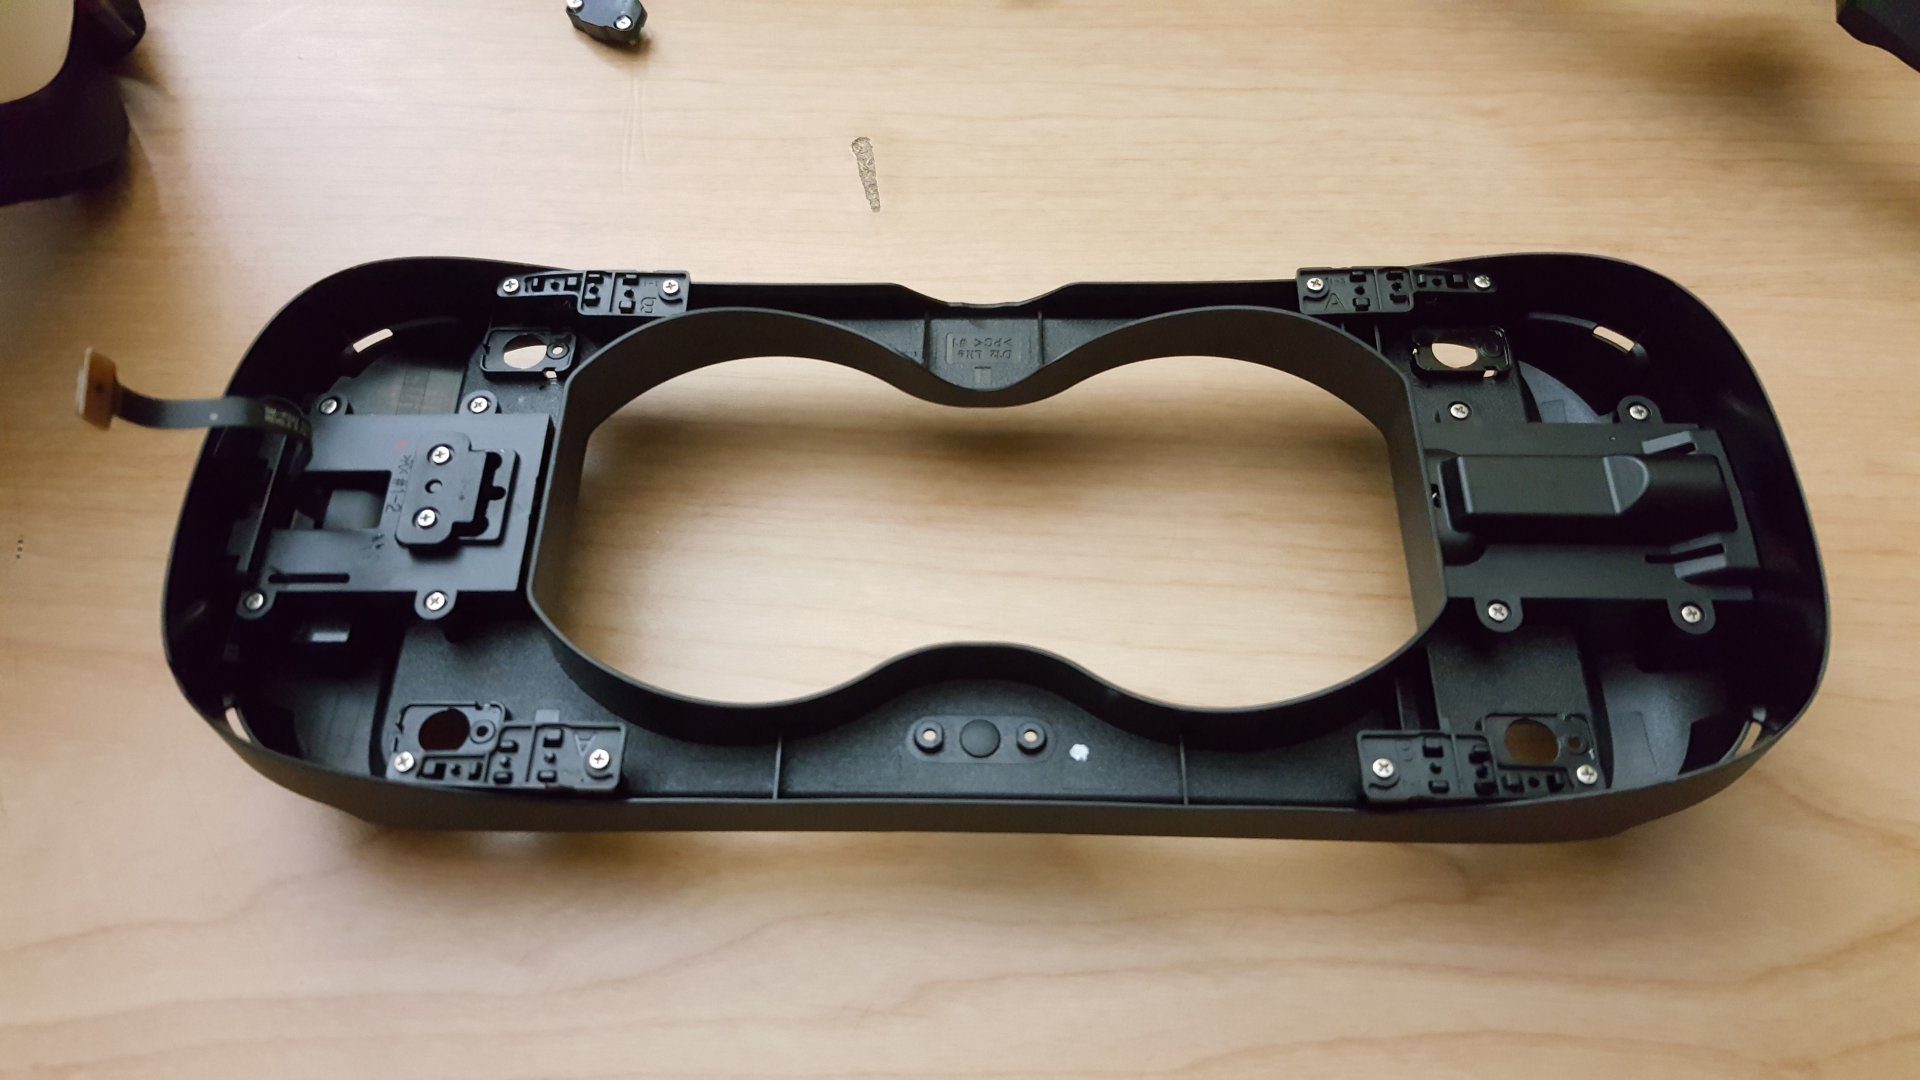
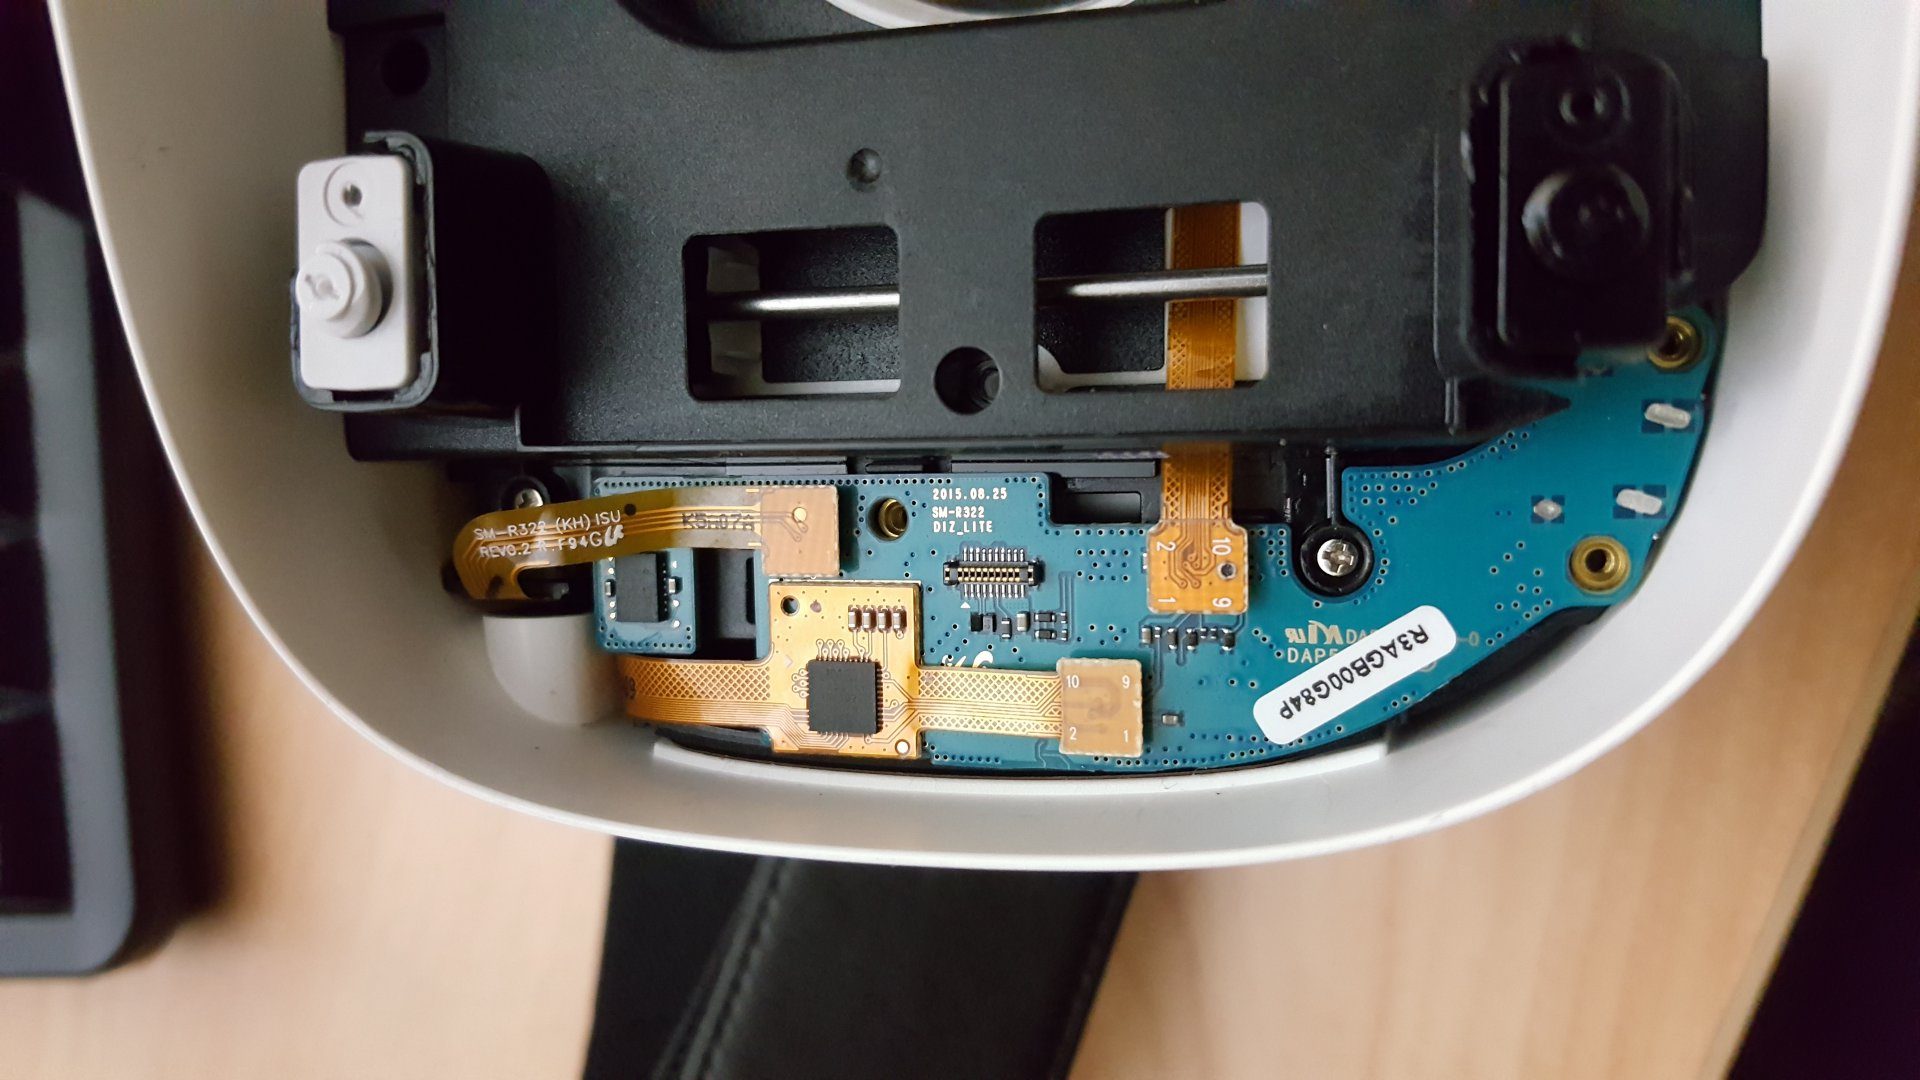
 The second layer has now been removed.
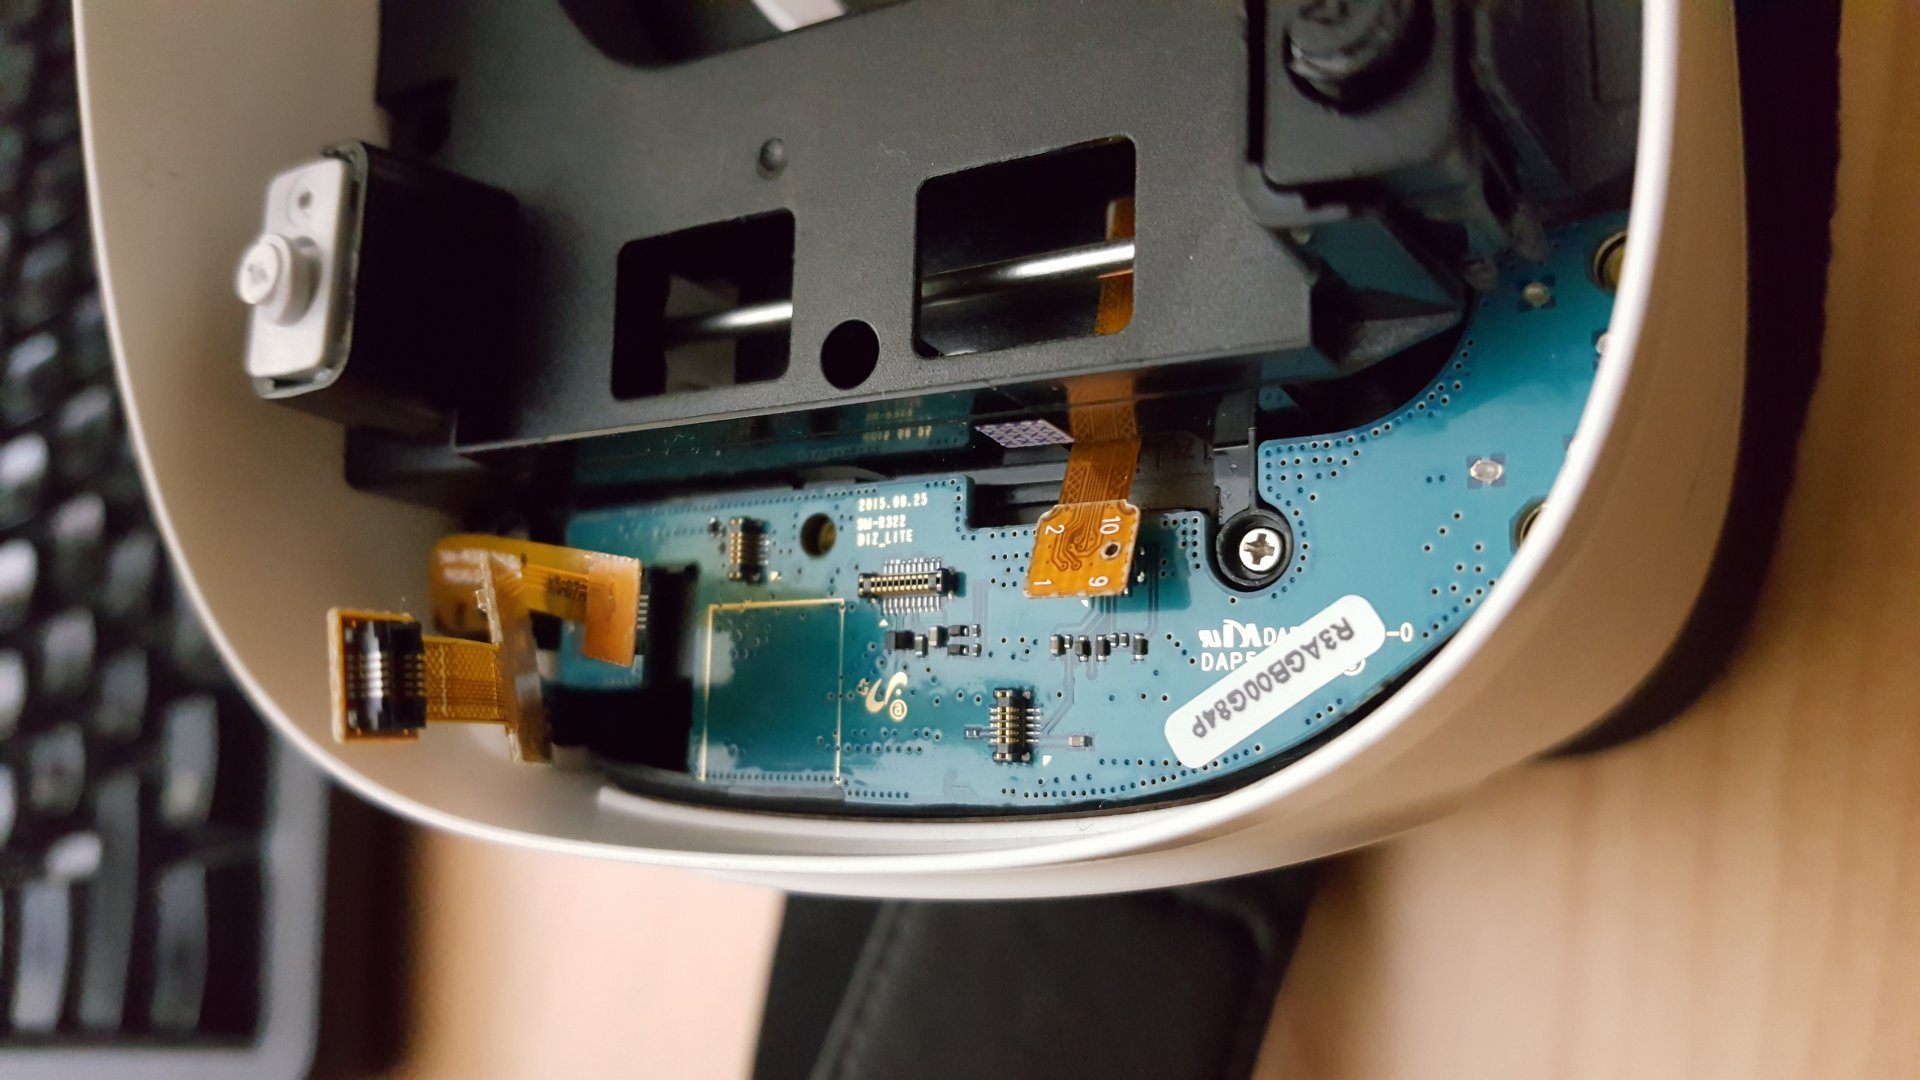
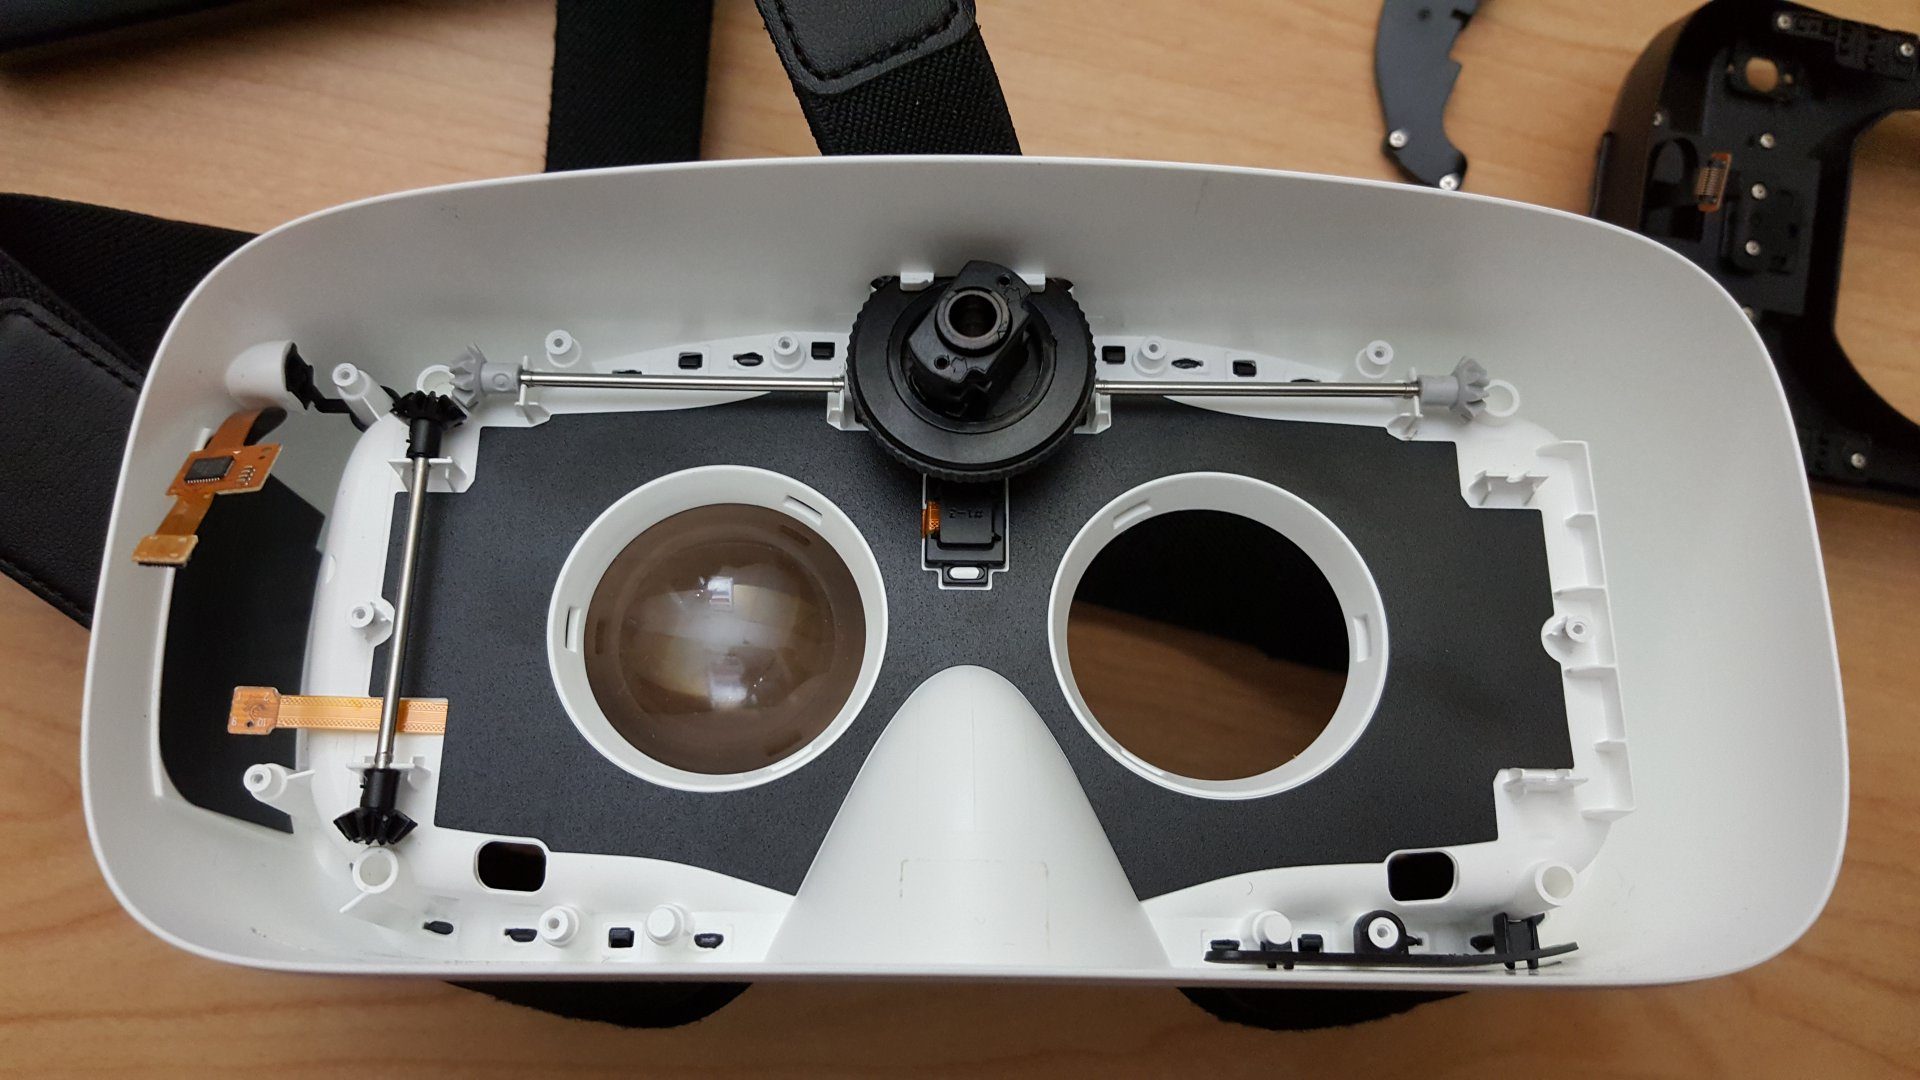 This is what’s left. Some more parts have now been removed, and some have been left on. The dark layers here are permanently adhered to the plastic.
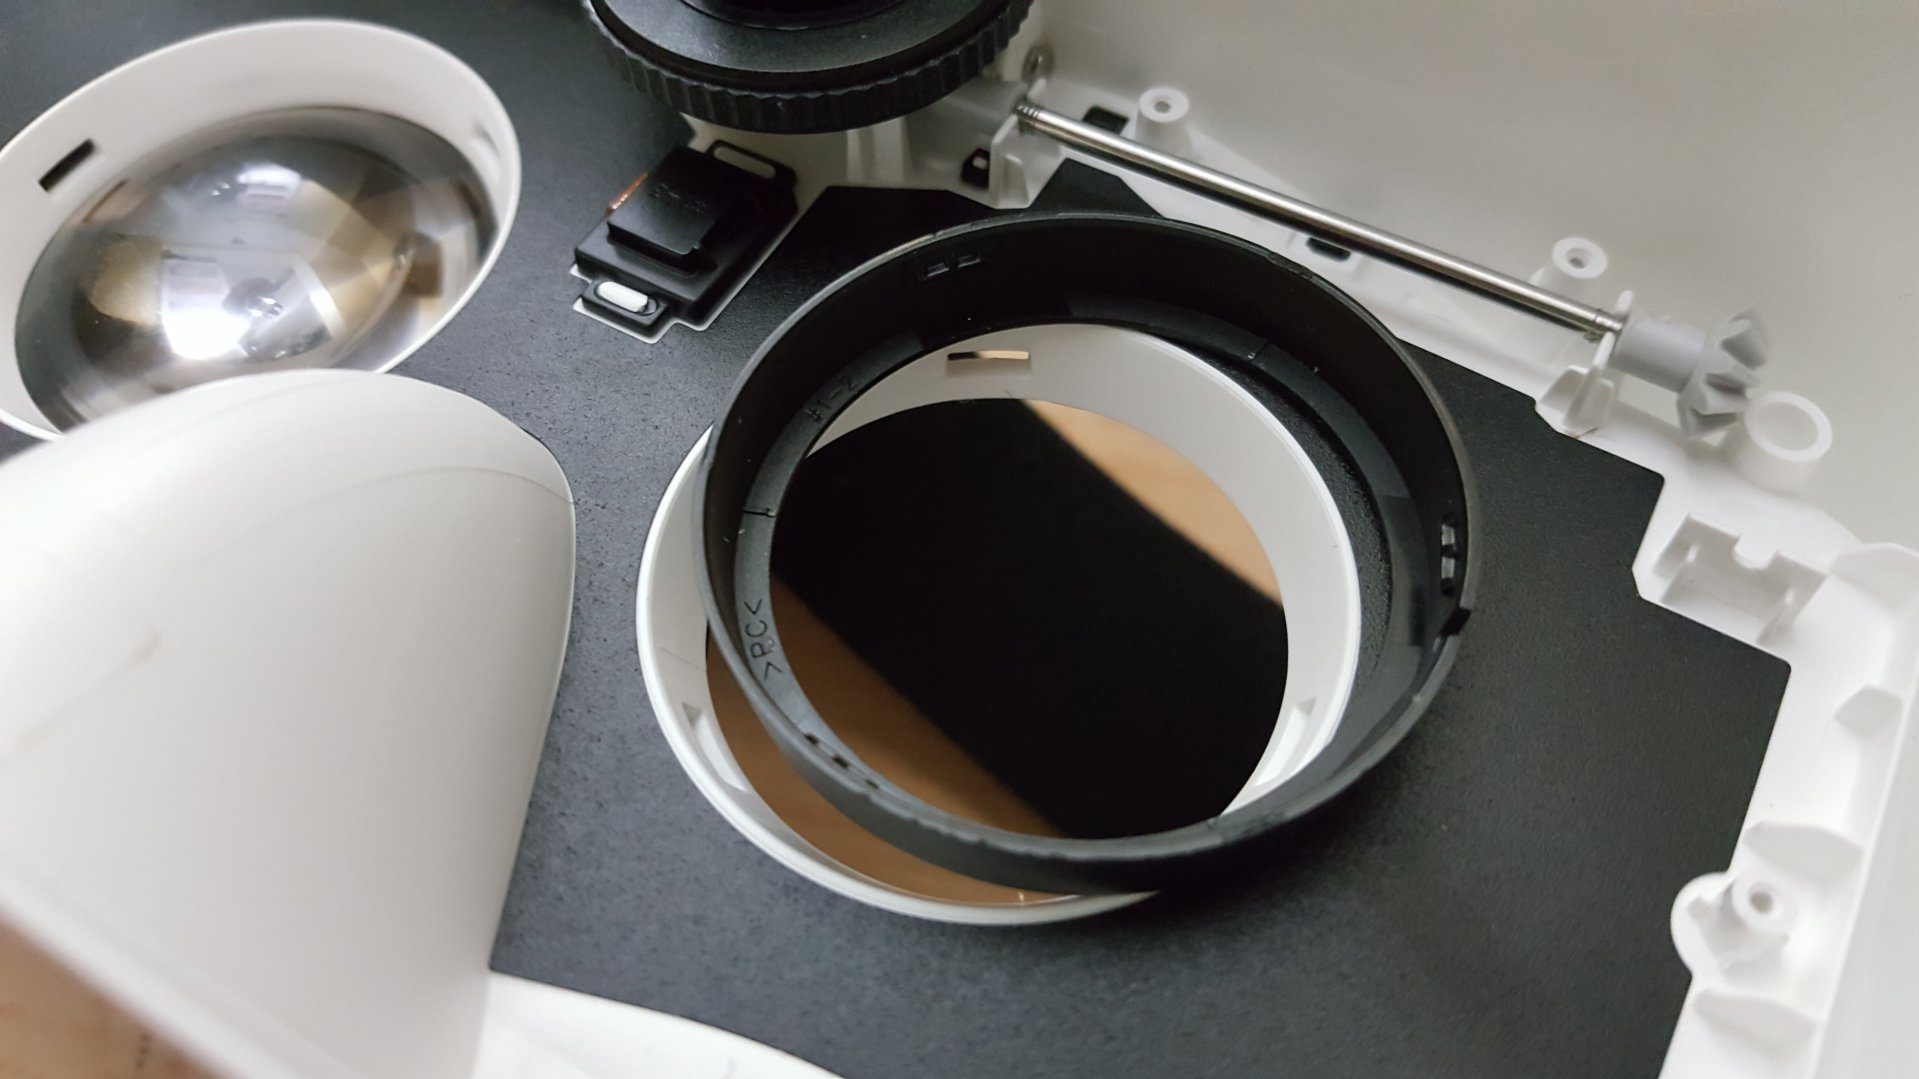 The lenses are easy to take off. In fact, you can take them off even without “breaking” into the Gear. Notice in this picture that there are indentations in the white plastic ring around the lenses. Those are for the “snap joints” lying on the black lens holder ring, also pictured. There are three of those joints. To remove the ring, all you have to do is get a flathead screwdriver and press into the holes, but be careful as a slip could result in scratched lenses! I recommend shielding them with a cloth if you want to be careful.
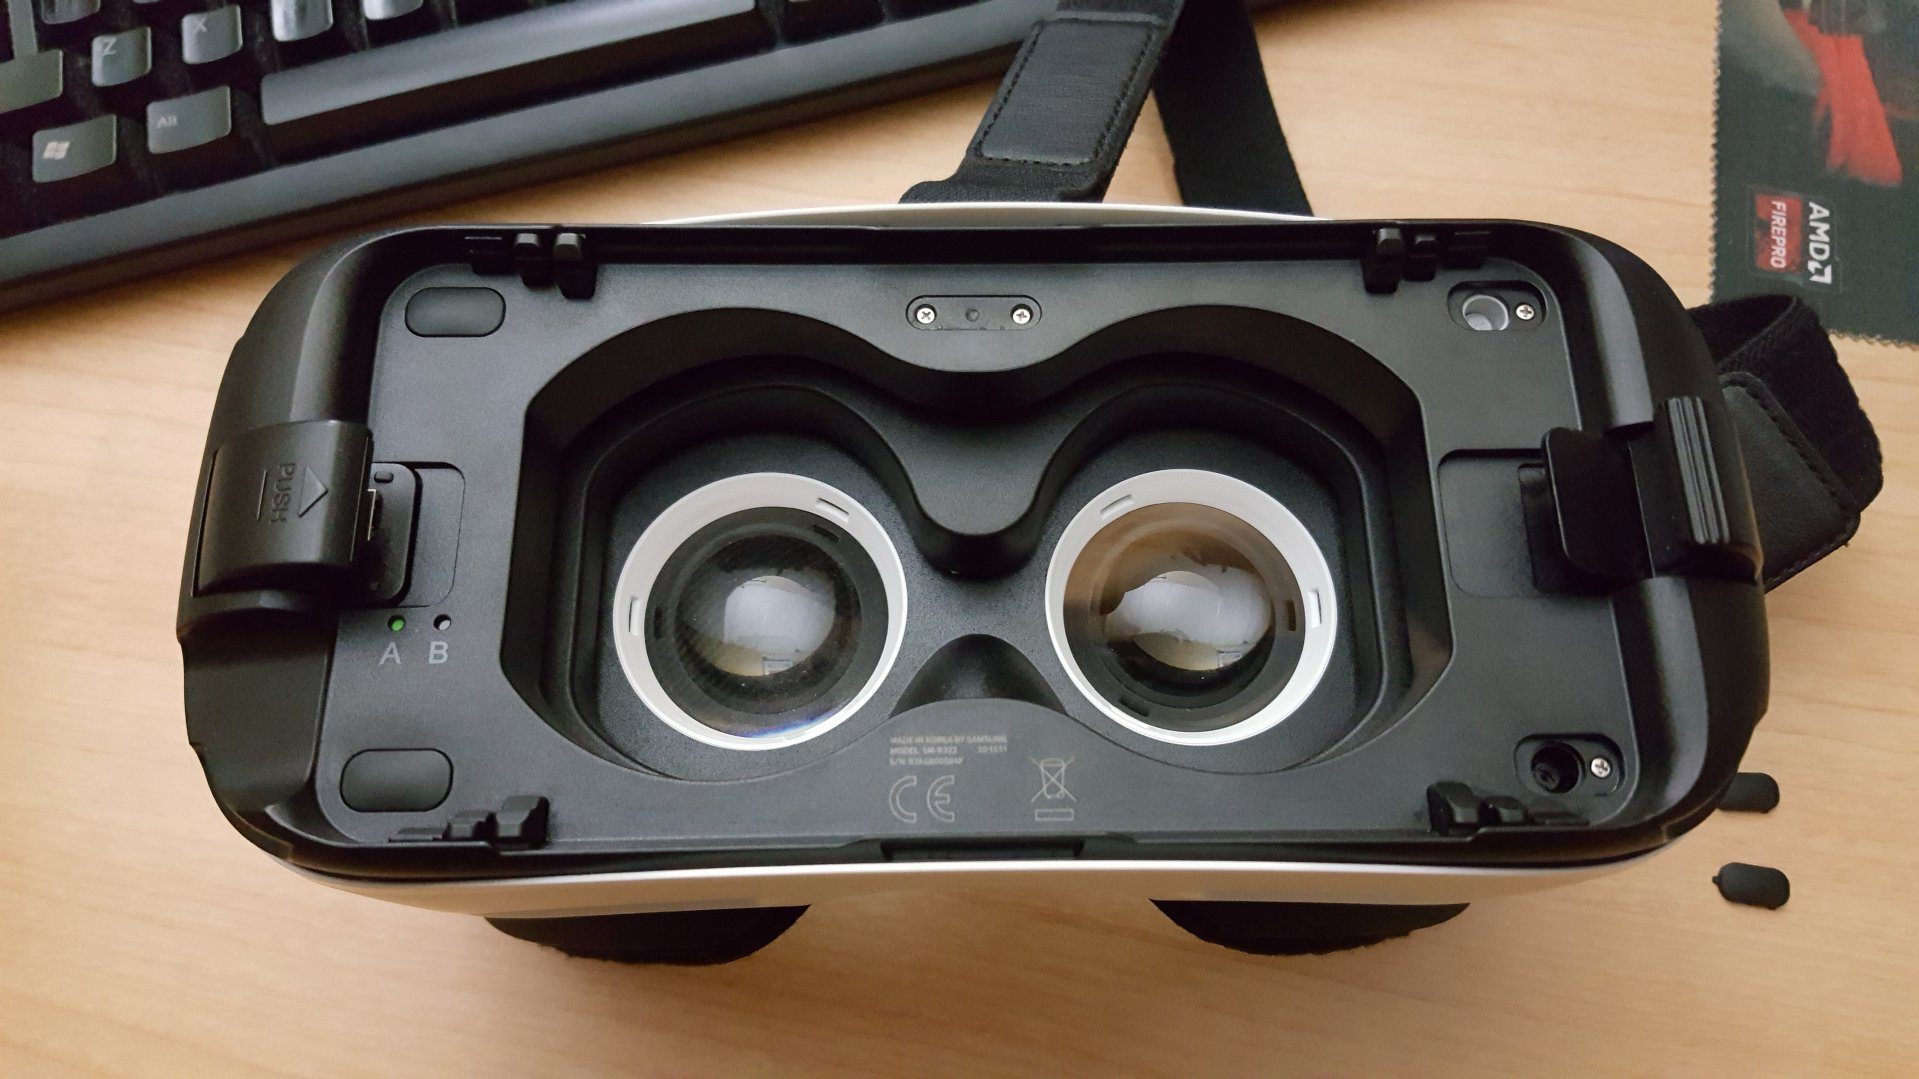
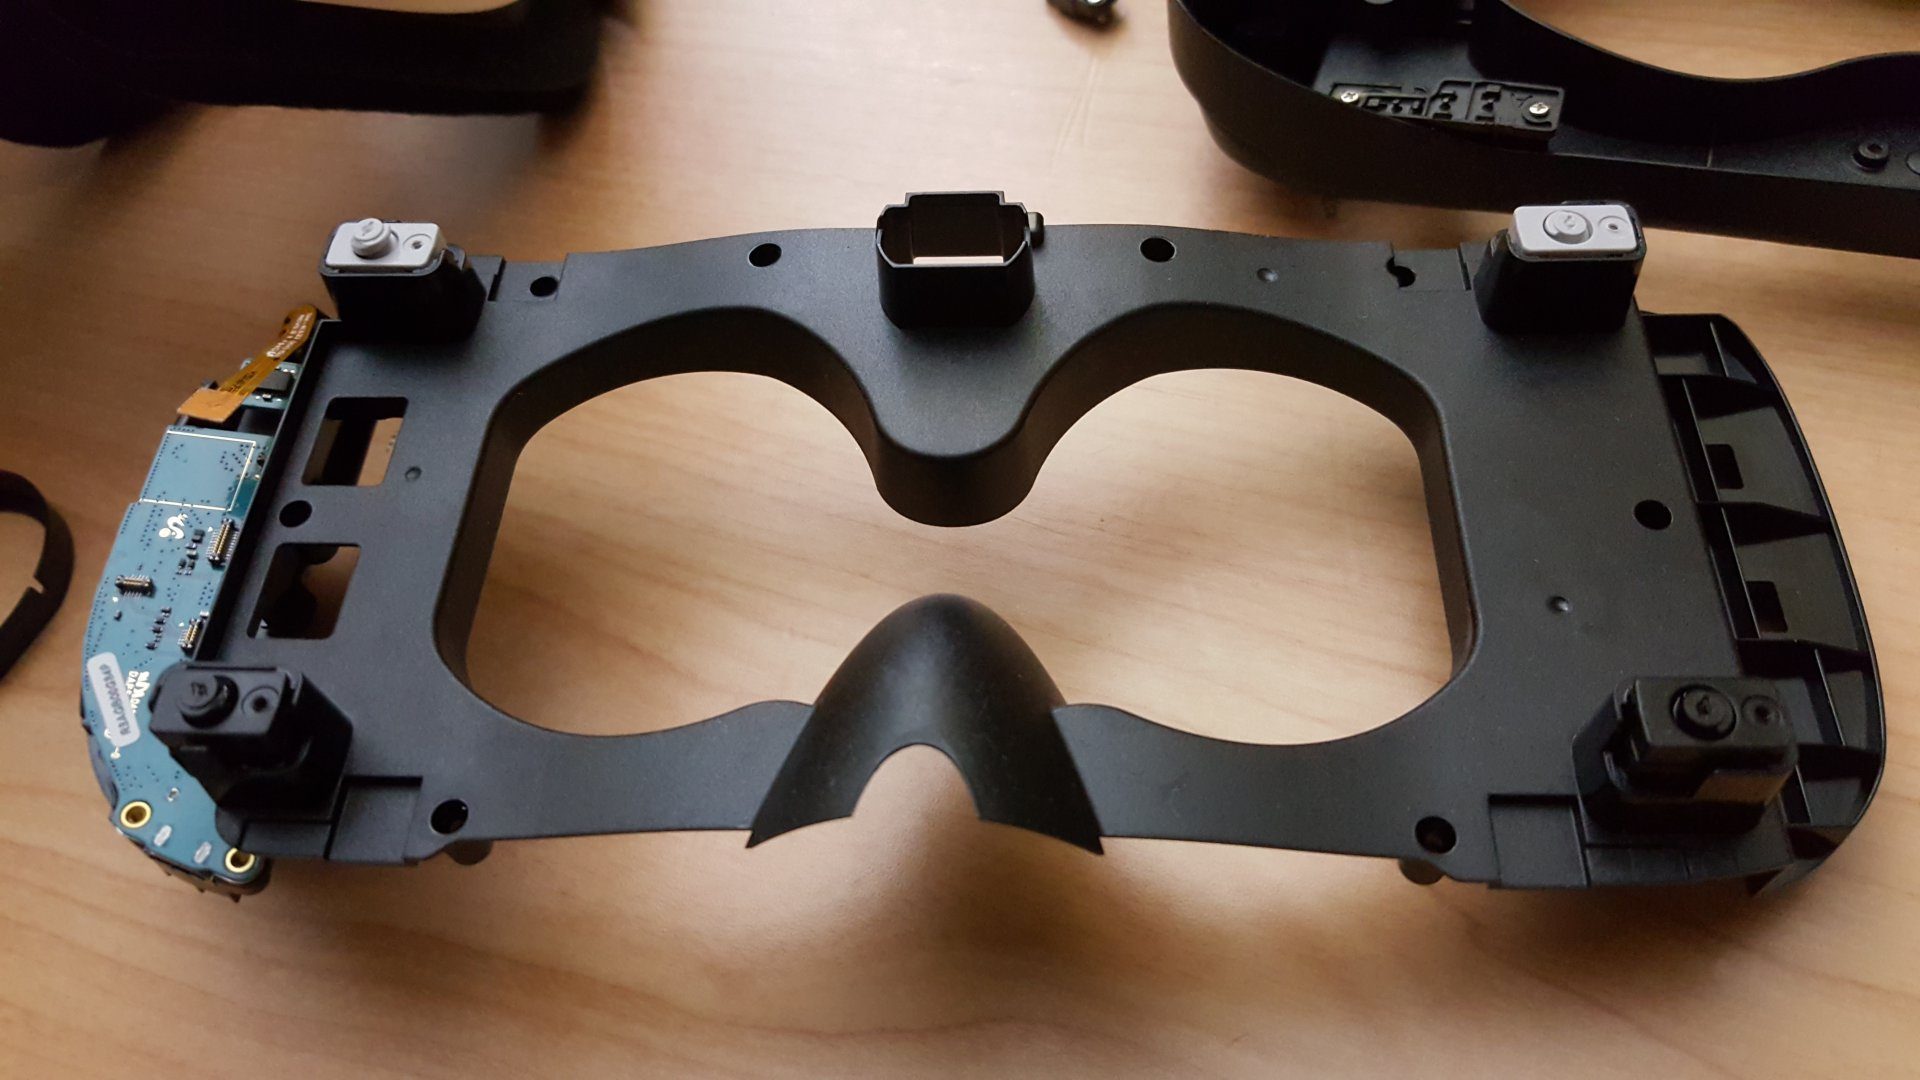
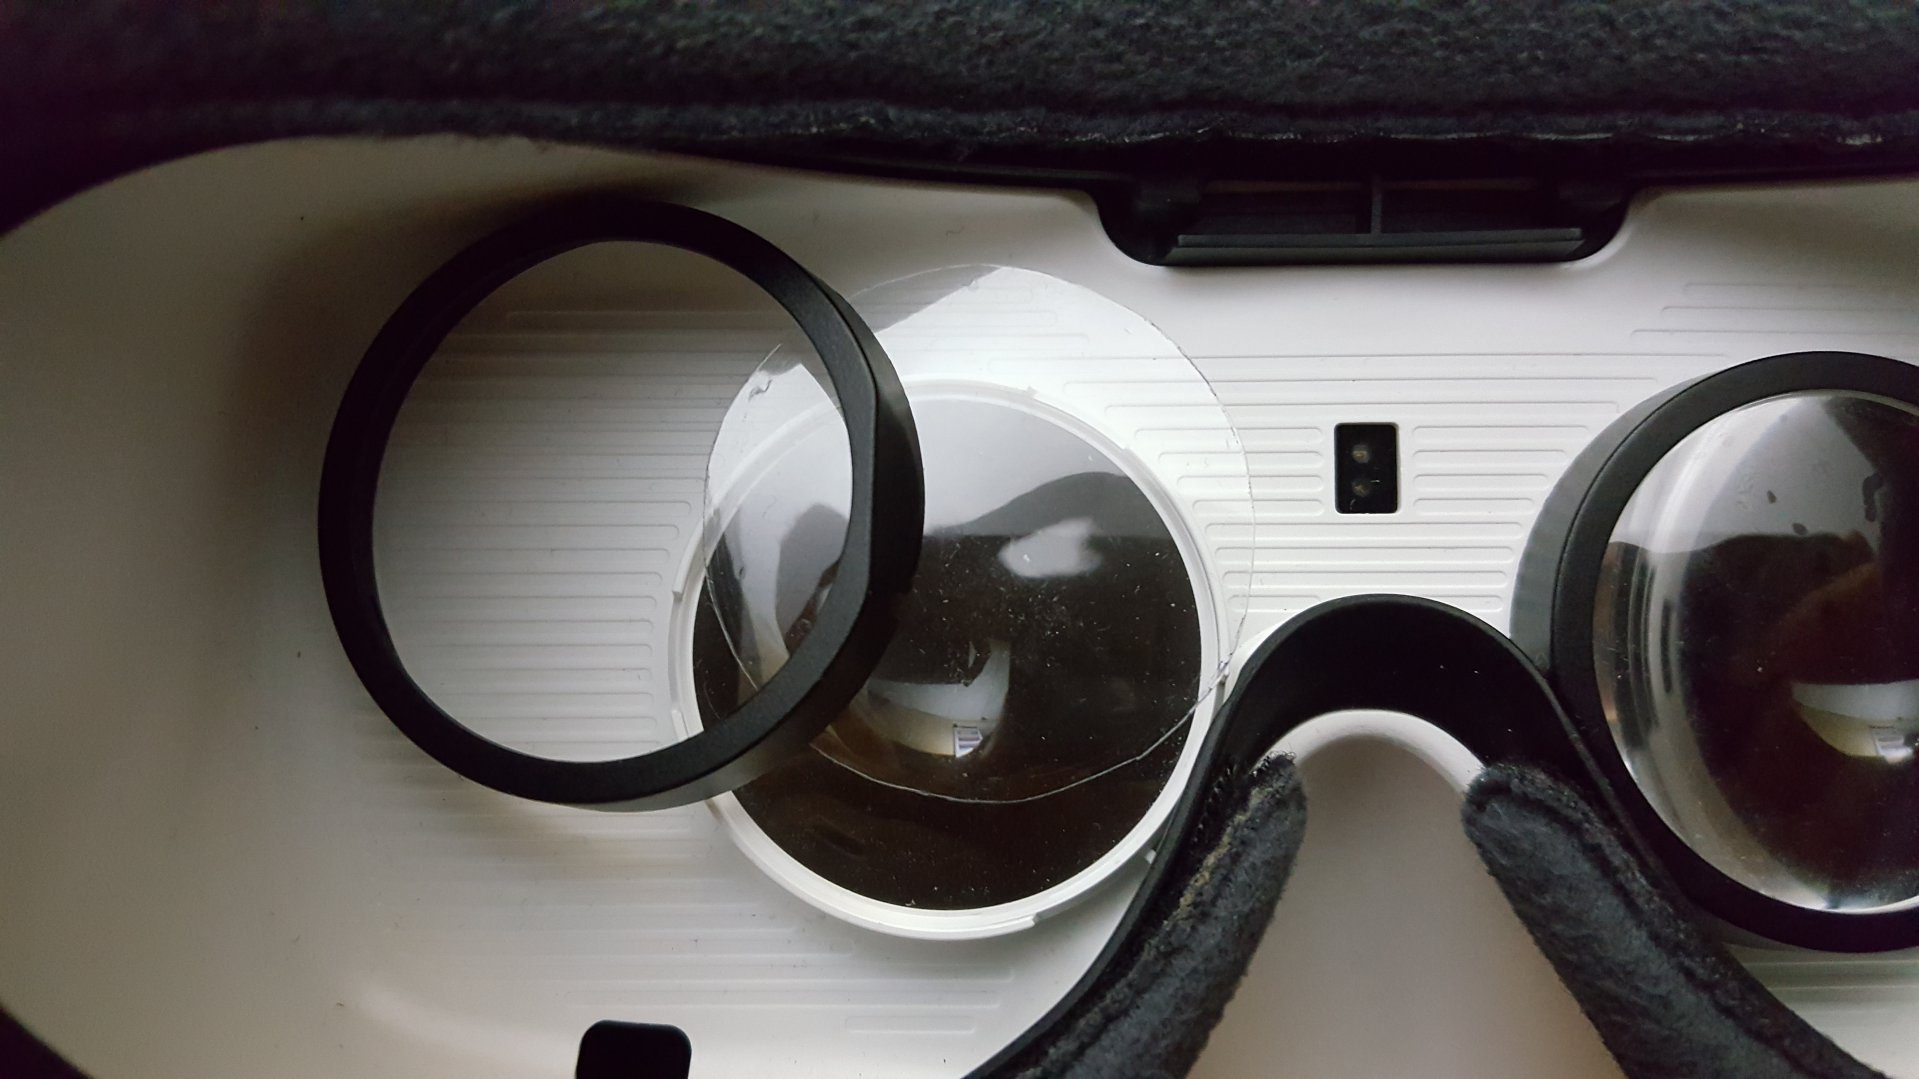
 What the other side, which points to your face, looks like with the lens and black lens holder ring removed.
With the lenses being so easily removable, it may also be conceivable that Samsung could, if they needed to, provide replacement lenses the user can install on their own.
Another interesting proposition is for the standard, stock lenses in the Gear VR to be swapped out for prescription lenses, made to measure for you to enhance your VR experience. Given how easily they can be swapped out, and that companies like VR Lens Lab are moving into just such an area.
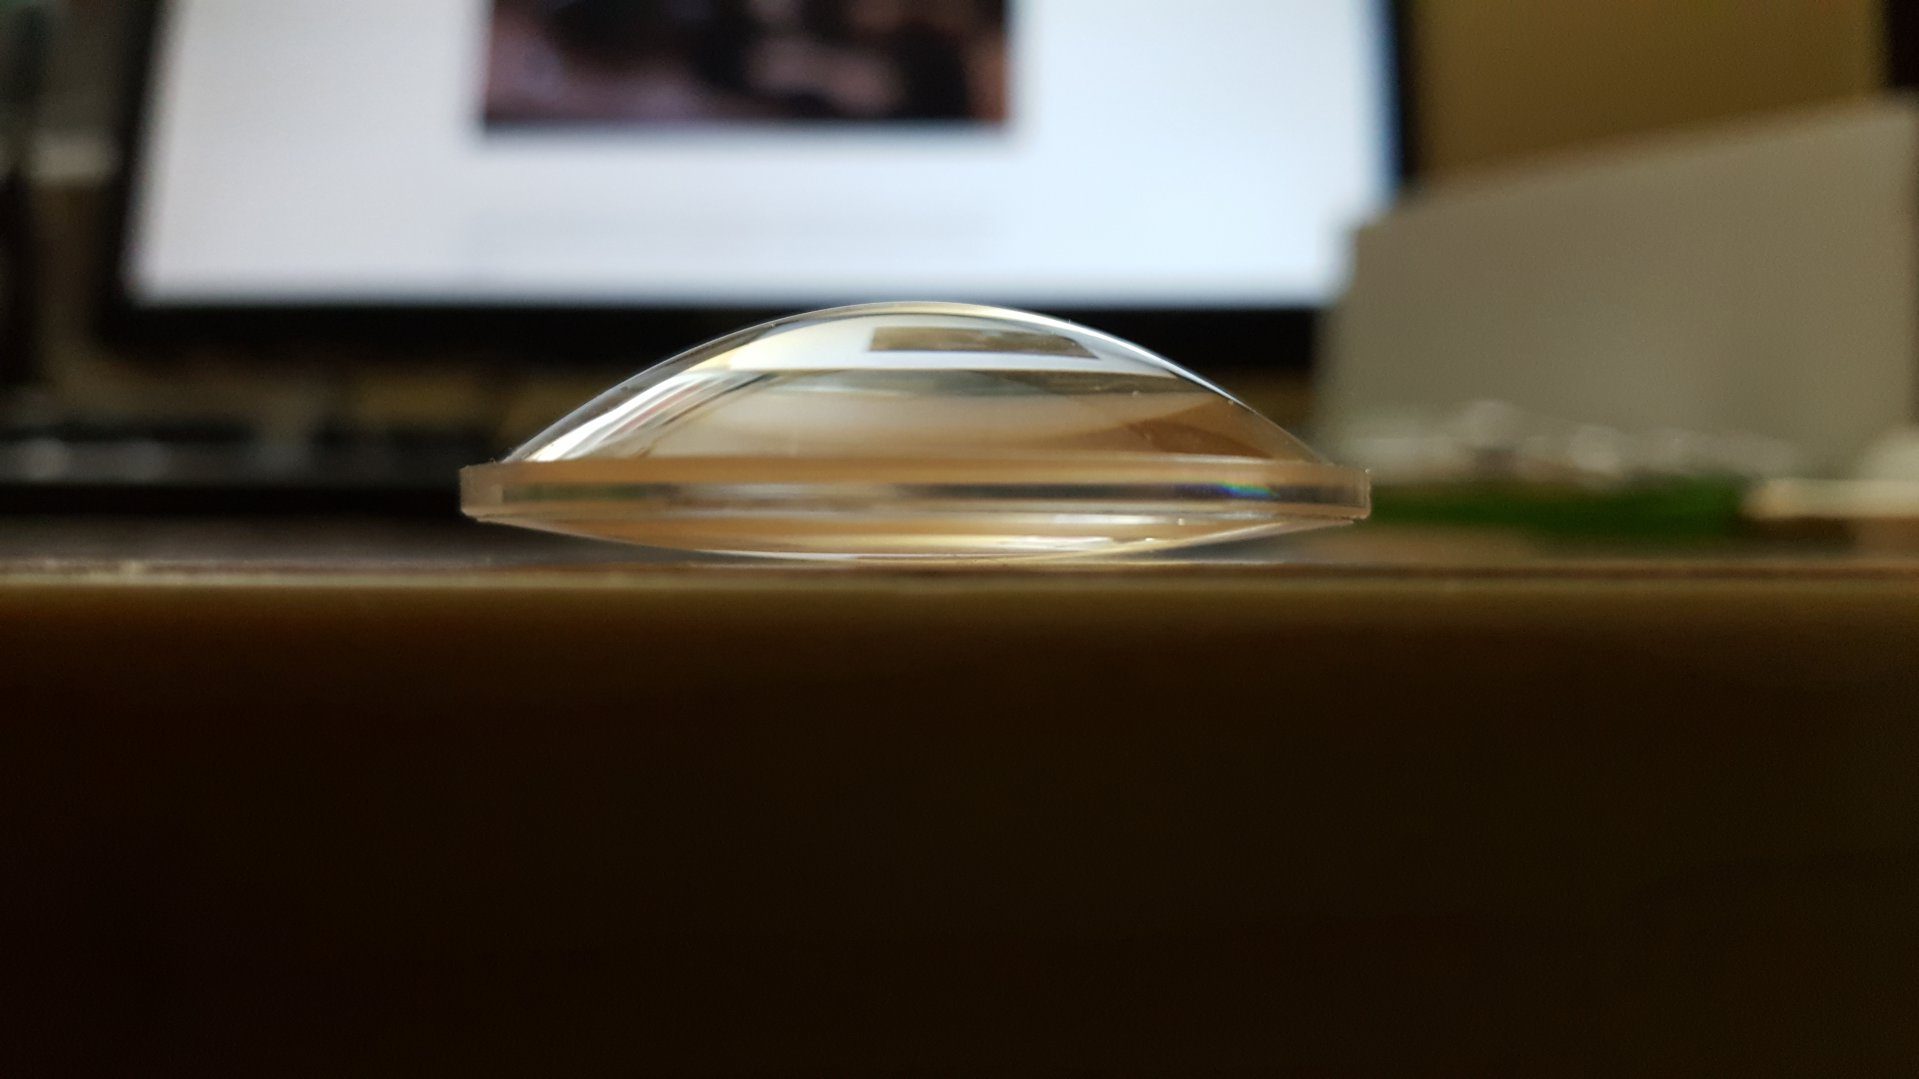
Finally, a quick profile shot of the Gear VR’s aspherical lenses removed from their housing.


