2. Wiring the LED
To set up head tracking, we will be using an LED-based model. This model uses a webcam to detect LEDs, and track their motion. We only need one LED for this. Many suggest using infrared LEDs. Webcams can detect IR very easily, so by removing the IR filter on a webcam and then installing a visual light filter, IR LEDs can give an excellent result. That said, you can make this work reliably using only a bright-white LED and no webcam modifications.
Parts:
- 1x Bright white 5mm LED (or IR if you will be doing webcam modifications)
- 1x Watch battery OR 2 AA batteries with the proper battery holder.
- 1x Small toggle switch (not needed if you are willing to take batteries in and out
Tip: If you do not have soldering experience, use the LED and watch battery, it requires no experience or soldering equipment
First we will be filing down the LED tip. LEDs are designed with a focusing lens built in. By using a file (or even the concrete outside) flatten the tip, and then buff the sides so they are not glossy. This allows the LED to be seen easily from any angle.
The Easy Way:
If you have no experience in soldering, you can simply tape the LED to the watch battery. Make sure to have the proper orientation, LEDs only work in one direction. If you got a typical 5mm white LED, a single watch battery should power it with nothing else needed. When you want to turn it off, slide a piece of paper between the battery and the side of the LED that you did not tape. It should look like this.
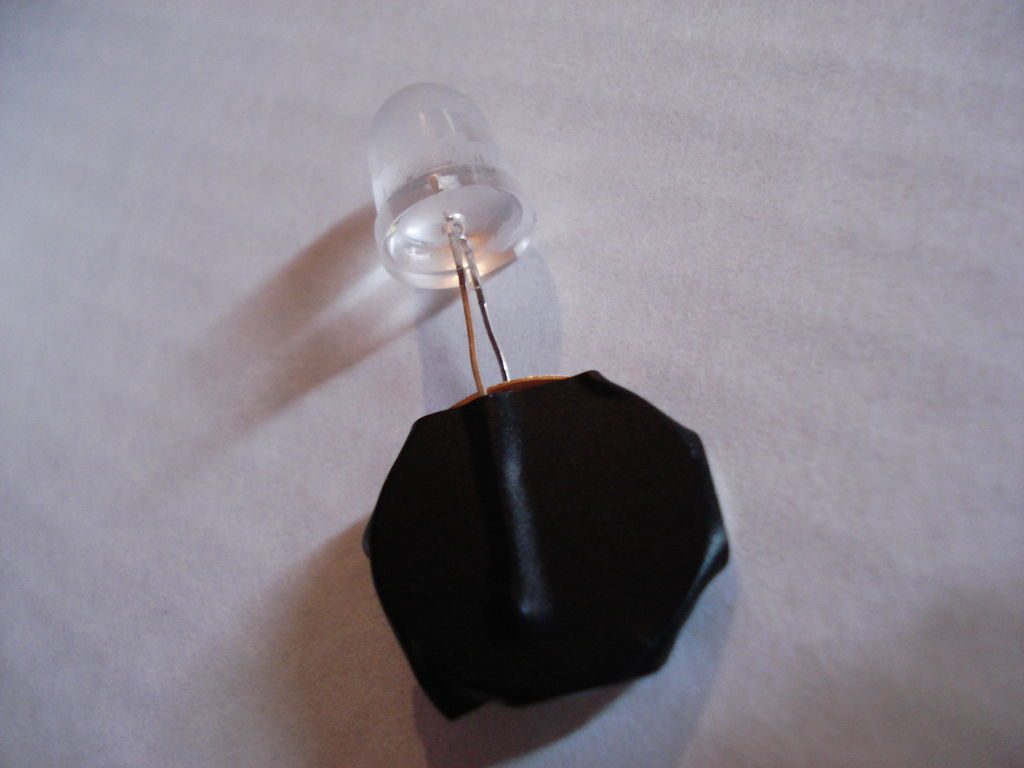
The ‘Right’ Way:
If you want a switch, long lasting batteries, and have soldering experience, this method is for you. Using a battery pack with 2 AA or 2 AAA batteries, solder one pole of the toggle switch to one of the battery terminals. Then use a length of wire approximately 6 inches long to connect the switch to the LED. Then use another 6 inch long length of wire to connect the LED back to the other battery terminal. Test the switch, it should turn the LED on and off.
Now that you have the LED wired in your chosen way, use hot glue to secure the LED to the front of the HMD. Make sure that the LED sticks out from the front of the unit for maximum turning radius.
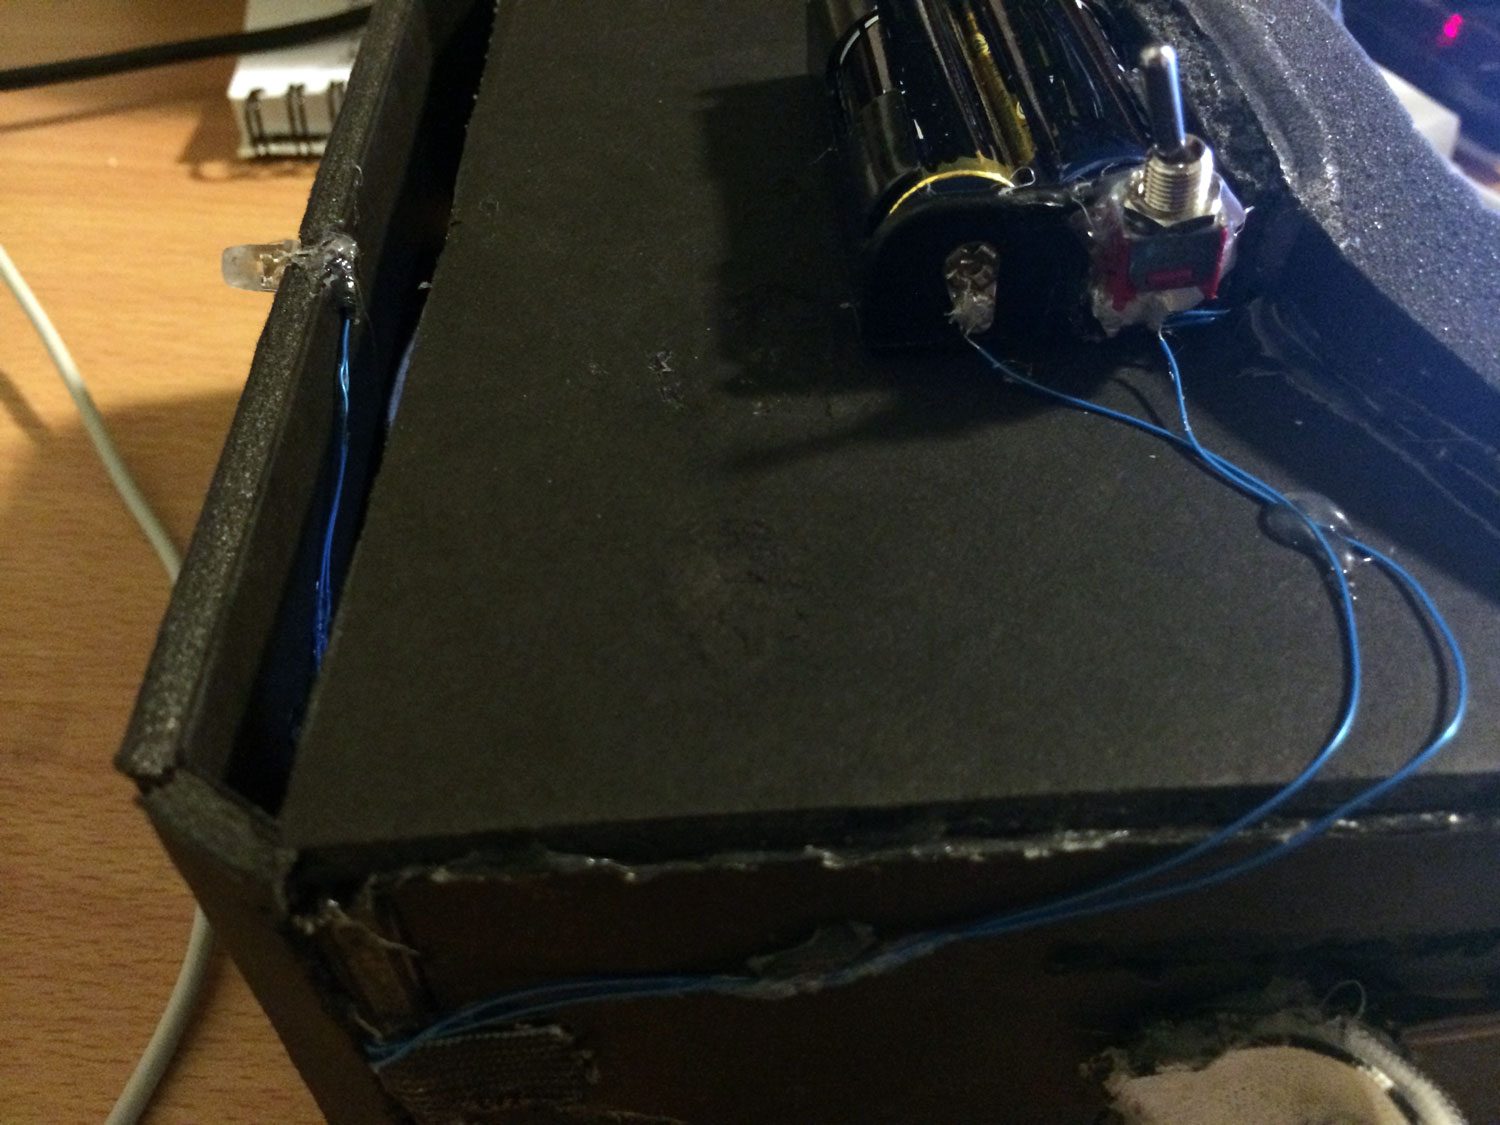