Passthrough Background & Shortcut
While the Quest and Quest 2 have a ‘passthrough’ view that makes it easy to set up your Guardian boundary by simply tracing around your playspace, the view is also really convenient for quick glances outside of the headset (like to pick up your controllers or to make sure nobody has walked into the playspace).
Fortunately Oculus has made it easier to access the passthrough view at any time by double tapping the side of the headset. You can even do this in the middle of playing a game! Enable the feature by going to Settings > Guardian > and turning on Double-tap for Passthrough.
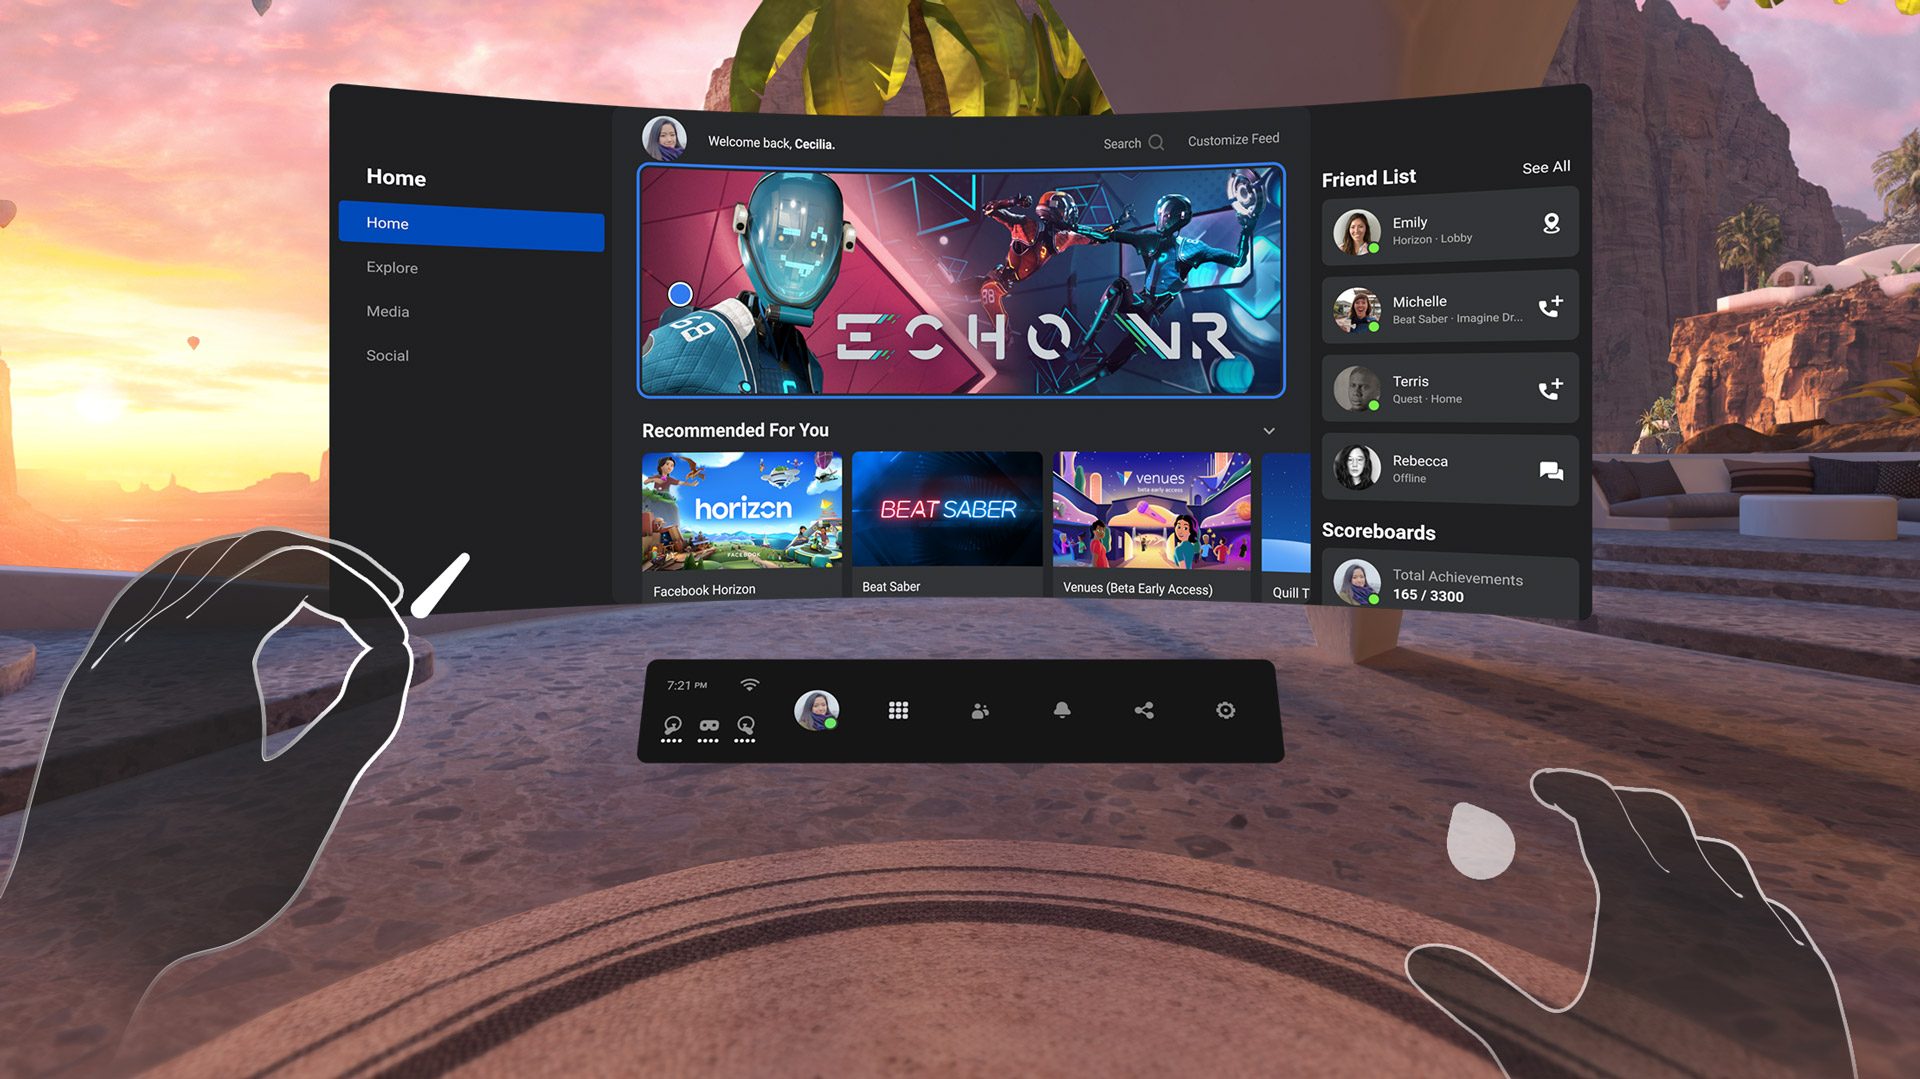
Better yet, you can even set the passthrough view as your VR ‘background’ instead of a virtual environment. Although it might seem really cool to be transported to another room as soon as you put on your headset, using the passthrough view as the background makes the whole transition in and out of VR more seamless. With the passthrough view as your background it’s easy to pick up the controllers after putting on your headset, instead of feeling around blindly for them or dangling them from your wrists.
You can enable the passthrough view as your default background by going to Quick Settings (click on the clock in the menu bar), then click the eye icon to enable ‘Passthrough Home’.
Voice Commands & “Hey Facebook”
Voice commands are the easiest way to launch or search for VR apps and do lots of things on Quest or Quest 2—it’s hard to imagine the feature wasn’t available right out of the gate!
With voice control you can double-tap the Oculus button (make sure double-tap is enabled in Settings > Device > Voice Commands) to prompt the headset to listen, at which point you can ask to do a wide range of actions, like launching specific apps, searching the web, taking a screenshot, navigating through the menus, changing the volume, or even asking which friends are online. Here’s a full list of things you can do with voice commands on Quest.
Oculus also eventually added a hands-free ‘wake word’ for voice commands on Quest, though oddly they chose the phrase “Hey Facebook.” You can enable the feature by going to Settings > Experimental > and then enable “Hey Facebook.” This is especially useful for using voice commands with hand-tracking, since there’s no menu button that you can easily double-tap.
Facebook Messenger
Although Quest has long supported a chat system for you and your friends in the headset, it wasn’t until recently that Oculus added Facebook Messenger proper.
Now you can access the same friends and conversations you’d expect to see on the Facebook Messenger phone app, which can make it easier to communicate with friends who aren’t in VR at the moment. You can even send them invites to VR right in a Messenger chat.
The Facebook Messenger account is tied to whichever Facebook account you use to sign into the headset.
To find Facebook Messenger on Quest, click on the ‘People’ icon on the menu bar. On the left of the panel, click the chat bubble icon to access Messenger. If you want to switch to the older version of chat and your Oculus friends list, you can switch between Oculus chat and Facebook Messenger by clicking the corresponding avatar picture at the top left of the panel.
Smartphone Notifications Inside the Headset
It’s been a long time coming, but it’s finally possible to see your iPhone notifications inside your Quest headset. That means no more missed calls, important emails, or urgent texts.
Unfortunately this feature is only available for iOS devices for now, but Oculus says they’re working to add support for Android as well. Here’s a detailed guide to enabling smartphone notifications on Quest.
If you’re getting really lost in a game and the notifications are bothering you, you can open Quick Settings (click the clock in the menu bar) and turn on Do Not Disturb (moon icon) which will silence all notifications on the headset. This might also be a good idea if you’re going to lend the headset to someone else to try.
Multiple Accounts & Library Sharing
Given that Oculus headsets now require a Facebook account for setup, it’s a good thing that Quest and Quest 2 now support multiple accounts too. For families with multiple people using the headset, this makes it easy to separate game progress, friends lists, chats, and settings.
To enable multiple accounts, go to Settings > Experimental > Multiple Accounts. This will add an ‘Accounts’ section to the Settings panel. Then access the new Accounts section where you can add up to three additional Facebook accounts, and you can choose to share the library of VR apps from the main account so that the other accounts don’t need to re-purchase the same apps.
App Lab
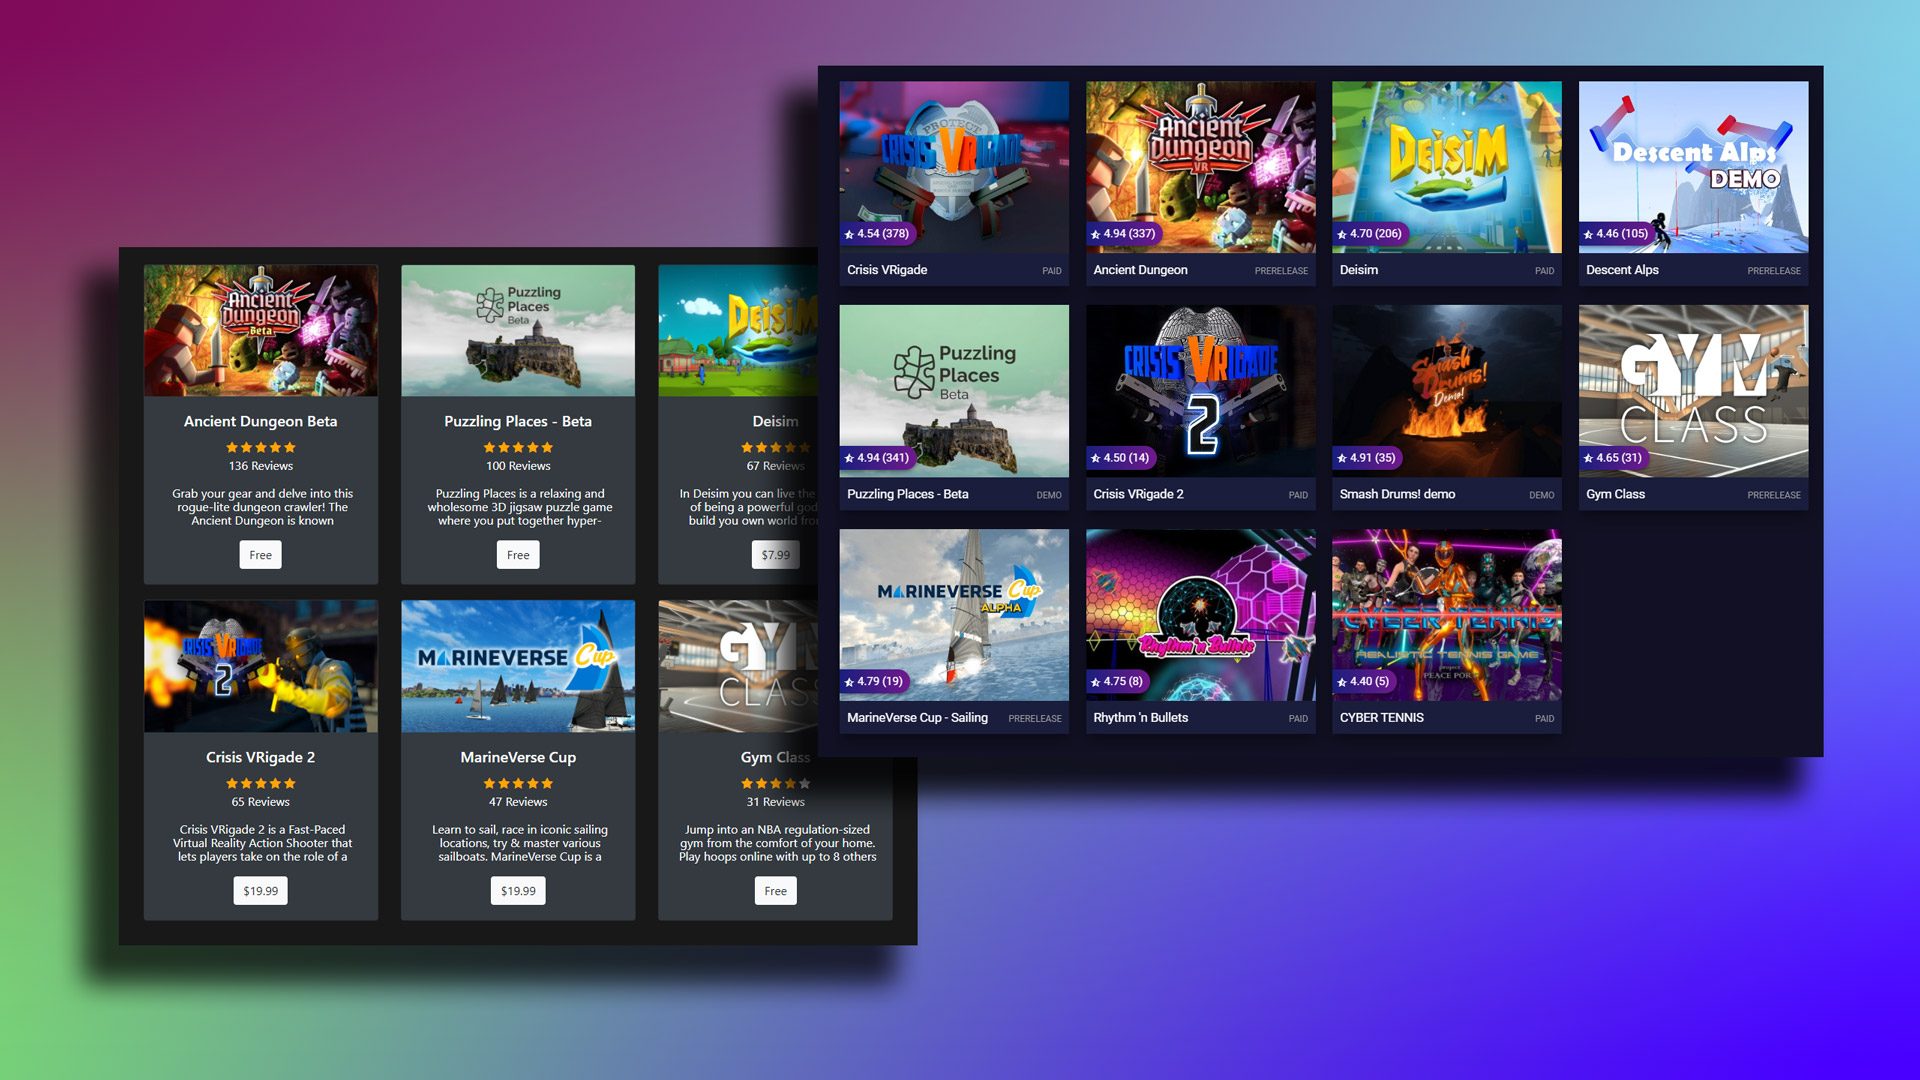
Luckily Oculus has since introduced App Lab, which is sort of like an official ‘shadow store’ of Quest apps. That’s because anyone is allowed to put their VR app on App Lap without a special green light from Oculus (provided the apps follow the company’s usual content policies). One developer even put a really boring VR app on App Lab just to prove it could be done.
The only difference between the main Quest store and App Lab is that apps on the latter are ‘unlisted’, which means you can’t browse through them like you can on the main Quest store. The only way to install them is to have the exact name of the app you’re looking for, or the URL to its page. Luckily sites like App Lab DB act as a catalog for App Lab apps.
Installing App Lab apps on Quest is easy as long as you know which one you’re trying to install. If you’re inside the headset, you can find the game you want by searching in the Quest store, but only if you know the exact name of the app. Otherwise you can browse to the app’s store page outside of your headset—for example, Gorilla Tag—and click the button to install it to your headset.
Mixed Reality Casting
Update v35 brought mixed reality casting to both Quest and Quest 2. This feature allows you to cast the VR experience to a smartphone while seeing your real body right inside of the virtual world.
This kind of mixed reality capture usually requires a complicated greenscreen setup with dedicated cameras and PC hardware, but having it built directly into Quest and the Oculus smartphone app stands to make it easy for anyone to do.
Unfortunately the feature is only available on relatively modern iPhones for now. There’s no word on Android support, but in the past Meta has brought iPhone-only features to Android phones as well.