‘OpenVR Advanced Settings’ is a dashboard overlay that allows access to advanced functionality of any headset running SteamVR. The menu is accessible in VR, meaning you can easily adjust options such as supersampling without removing your headset.
Last year we explained how, if you’re computer has processing power to spare, supersampling could dramatically improve image quality in the HTC Vive headset, but the method involved a rather clunking adjustment of a SteamVR JSON config file with a text editor.
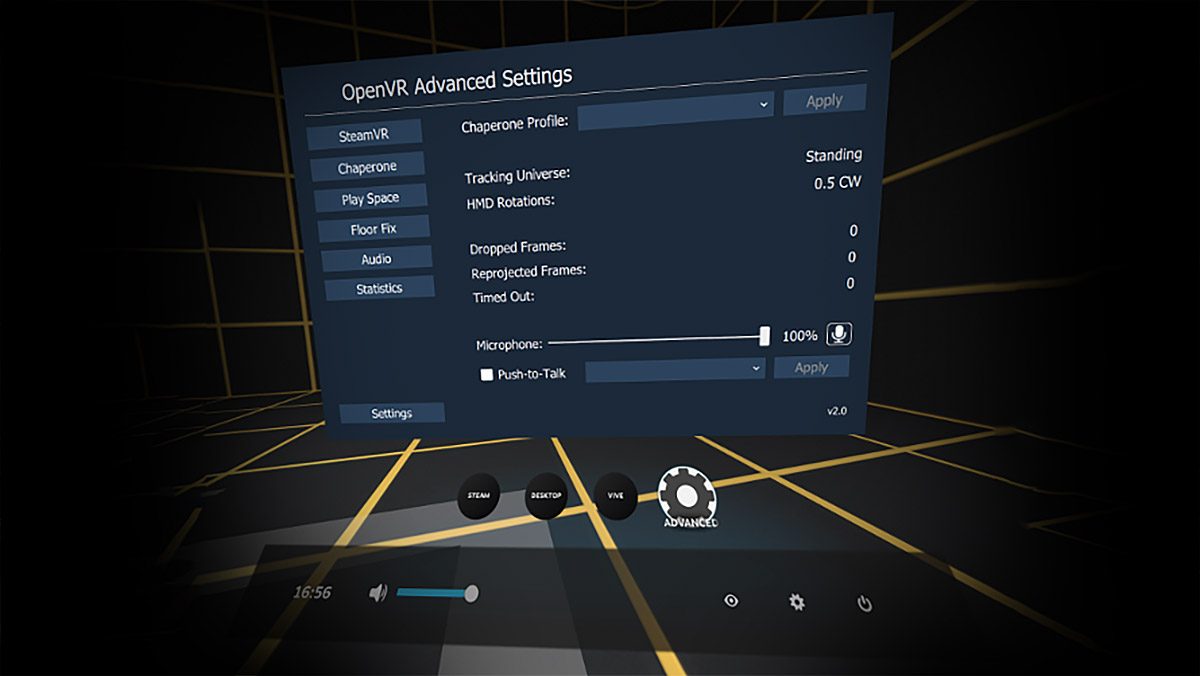
Since then, tools such as bilago’s ‘Chaperone Switcher’ began to include supersampling options, and, in September, user matzman666 released ‘OpenVR Advanced Settings‘, which eventually allowed both chaperone and supersampling adjustments from within VR across any headset running SteamVR (the Rift included). Now it’s easy to quickly adjust the amount of supersampling to get your VR headset looking as sharp as possible while maintaining the critical 90 FPS.
The installation couldn’t be simpler: download the most recent installer here and follow the installation instructions. Once wearing the headset in SteamVR, you should find a new ‘advanced settings’ button near the bottom of the dashboard. There you can set separate supersampling settings for application and compositor, keeping in mind anything above the default 1.0 setting is considerably more demanding on your graphics hardware.
If you’re using an Oculus Rift to play games through Oculus Home, you can use these instructions to sharpen the Rift’s visuals via supersampling.