Valve has been an early supporter of Oculus VR and virtual reality. Their popular shooter Team Fortress 2 (2007) was one of the first existing games to be updated with Oculus Rift support. Half-Life 2 (2004), arguably one of the greatest games ever made, was also updated with Oculus Rift support early on, way back in May, 2013.
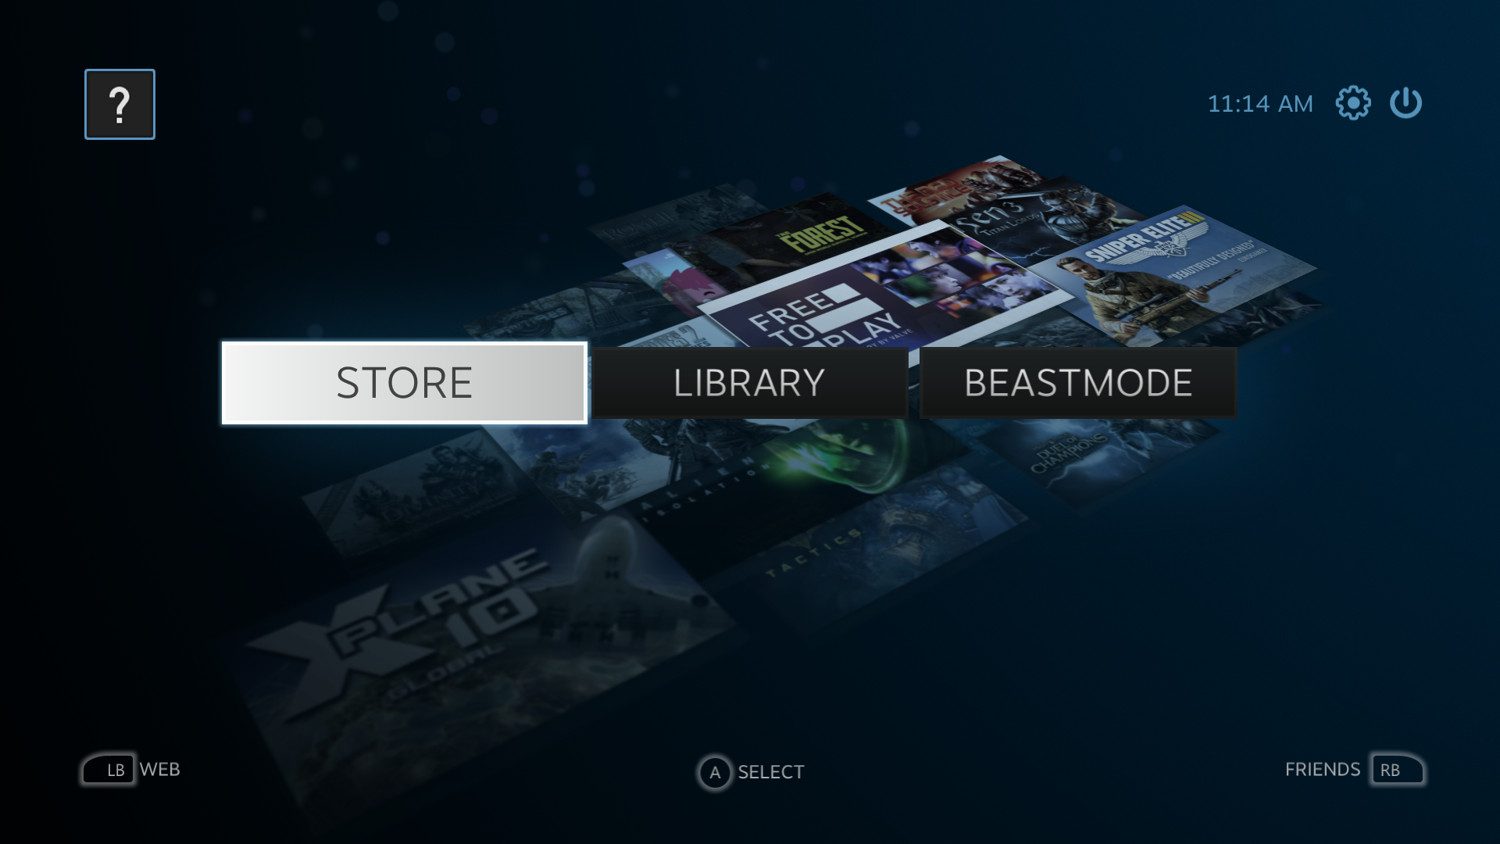
In January, 2014, Valve released a beta version of SteamVR, a mode for the company’s massively popular Steam game distribution client that allows it to be viewed in a virtual reality version of ‘Big Picture Mode’.
See Also: Valve’s SteamVR, Now with Support for Mac and Linux, Is the Best VR Web Browser Yet for the 2D Web
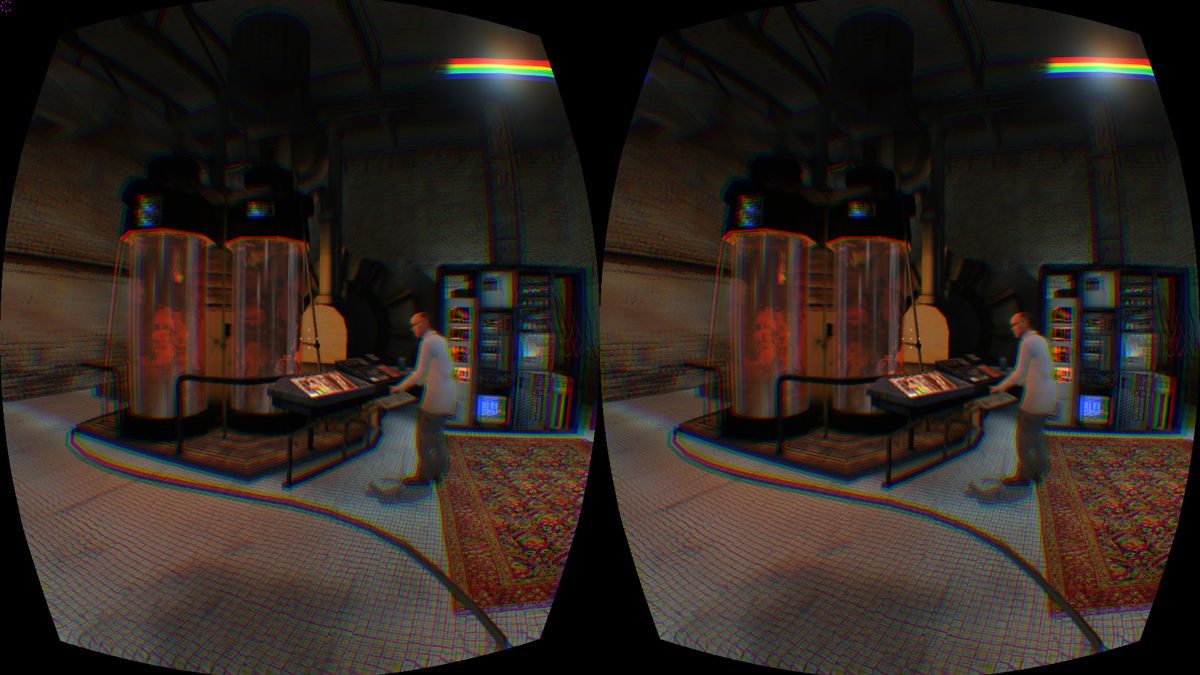
Today Valve has updated SteamVR to work with the latest Oculus SDK 0.4.1. This brings support for the Oculus Rift DK2 for the first time and also enables positional tracking, the much lauded feature that provides a more immersive and comfortable virtual reality experience. Half-Life 2’s virtual reality implementation relies on SteamVR, and now that the package has been updated, it too works with the Oculus Rift DK2. If you own Half-Life 2 and the DK2, there’s pretty much no reason to not drop what you are doing right now and get your head into that world. Excuse me… I’ll be back in about an hour.
How to Enable SteamVR for Oculus Rift DK2
SteamVR supports Windows, Mac, and Linux (no positional tracking on the latter yet).
- Make sure you are using the latest version of the Steam client: Go to Steam [menu item] > Check for Steam Client Updates.
- [Mac and Linux only] Opt into the Steam client beta: Steam [menu item] > Account. Under ‘Beta participation’ click ‘CHANGE…’ In the new window, select ‘Steam Beta Update,’ then click OK. Restart Steam.
- Click Library > Tools. Scroll to find SteamVR, right-click and select ‘Properties’, then click the ‘BETAS’ tab. From the dropdown list, select ‘beta – SteamVR Beta Update.’ Click ‘Close’ at the bottom right of the window.
- Still in the Tools menu, right-click on SteamVR again and select ‘Install Game’. Click ‘Next’ twice to install.
- Ensure your Oculus Rift DK2 is turned on and set to Extended Mode. In the Steam menu, select View > Virtual Reality Mode (BETA)
How to Enable Half-Life 2 for Oculus Rift DK2
After following the above steps to make sure you’ve got SteamVR working correctly, you might want to jump into Half-Life 2 with the DK2. Here’s how:
- Install Half-Life 2 as usual if it isn’t already.
- In the Library, right-click on Half-Life 2 and select ‘Properties.’
- Select the ‘BETAS’ tab. From the dropdown menu, select ‘beta – Beta updates’.
- Click close and wait for Half-Life 2 to update to the beta version.
- Ensure your Oculus Rift is turned on and set to Extended Mode. Launch Half-Life 2.
- In the Half-Life 2 menu, select ‘Options’, then the ‘Video’ tab. Switch the Virtual Reality Mode option to ‘Enabled’.
- Quit Half-Life 2 and relaunch it.
- On the Half-Life 2 menu, select ‘Activate Virtual Reality’. The window should automatically display in your Oculus rift DK2.
Optional Tip: Set to 75Hz Mode to Decrease Blur
- In your Steam Library, right click on ‘Half-Life 2 [beta]’. On the ‘GENERAL’ tab, select ‘SET LAUNCH OPTIONS…’. Type ‘-refresh 75 -freq 75’ into the field and click OK.
- Launch Half-Life 2. Select Options, then the ‘Video’ tab, then ‘Advanced…’. Set ‘Motion Blur’ to ‘Disabled’. Click ‘OK’.
- Select the ‘Keyboard’ tab, then click the ‘Advanced’ button and select ‘Enable developer console’. Press the tilde key (~) anywhere in the game to launch the developer console.
- In the developer console type ‘disconnect’, then type ‘fps_max 76’ [sic, framerate will be -1 from value entered].
- In the developer console type ‘net_graph 1’ to show an FPS counter to verify your framerate. Type ‘net_graph 0’ when done to disable the FPS counter.
Thanks to Reddit user strickt for this tip!
Optional Tip: Increase the Size of the Positional Tracking Volume
For some reason the positional tracking volume inside of Half-Life 2 is artificially limited. Here’s how to fix it.
- Enable the game console in Half-Life 2 by selecting Options, then the ‘Keyboard’ tab, ‘Advanced’ button, and select ‘Enable developer console’. Press the tilde key (~) anywhere in the game to launch the developer console.
- In the developer console type ‘vr_translation_limit 100’.
Thanks to Reddit user hagg87 for this tip!
Troubleshooting
Here are a few things to try if you’re having trouble:
- Ensure you are running the latest Oculus Runtime and that your DK2 has the latest firmware installed. Here’s a guide on updating the firmware (which also shows where to get the latest Runtime).
- Make sure you have your DK2 turned on and set to Extended Mode. You can change from Direct Mode to Extended by double-clicking the Oculus eye icon in the Windows System Tray and selecting ‘Rift Display Mode’. Mac doesn’t currently support Direct Mode so it should bet set to Extended by default.
- If positional tracking isn’t working, first make sure that the blue light on the positional tracking camera is turning on when you launch SteamVR or activate VR mode in Half-Life 2. If it isn’t turning on, right-click on the Oculus eye icon in the Windows System Tray and select ‘Configuration Utility.’ Then in the menu, click Tools > Advanced > Restart Service, click ‘Yes’ on the following prompt. Quit SteamVR or Half-Life 2 and restart Steam.