If you’re tired of futzing around with 3rd-party screen recorders to capture your Gear VR play sessions, your long wait is over. Oculus has finally pushed an update to all Gear VR-compatible phones on Android 5.0 that will allow you to record video and capture screenshots natively. The new function isn’t without its issues however, so there’s a few things you need to know before you get started.
Accessing the new features is easy. Just hold the back button while strapped into the headset to bring up the Universal Menu, tap on ‘Utilities’ and you’ll be presented with video and screenshot capture options.
Selecting the screenshot option, you’re immediately kicked back to whatever app you have opened at the time and are given a blinking red light to indicate about 5 seconds before the shot is taken. Line it up, and you have your screenshot automatically saved in the Oculus folder in your phone’s internal storage.
The video capture option is a bit more tricky though, and still requires some finagling to get an optimal result. Keep in mind the following before you start:
- No recording indicator. Unlike the screenshot function, there’s no way to visually know if you’re still recording video—outside the occasional judder of course.
- Segmented videos. Exiting from an app, starting a new app, or reopening the Universal Menu automatically ends your video capture, which could create some frustration for people trying to show multiple apps within a single recording session.
- No audio capture. Like other screen recorders, you’ll need to either get a 3.5 mm male-to-male audio cable and record audio on your PC using an app like Audacity (high quality), or use an external mic to record system audio from your speaker (low quality). Both methods require you to sync the audio and video in post.
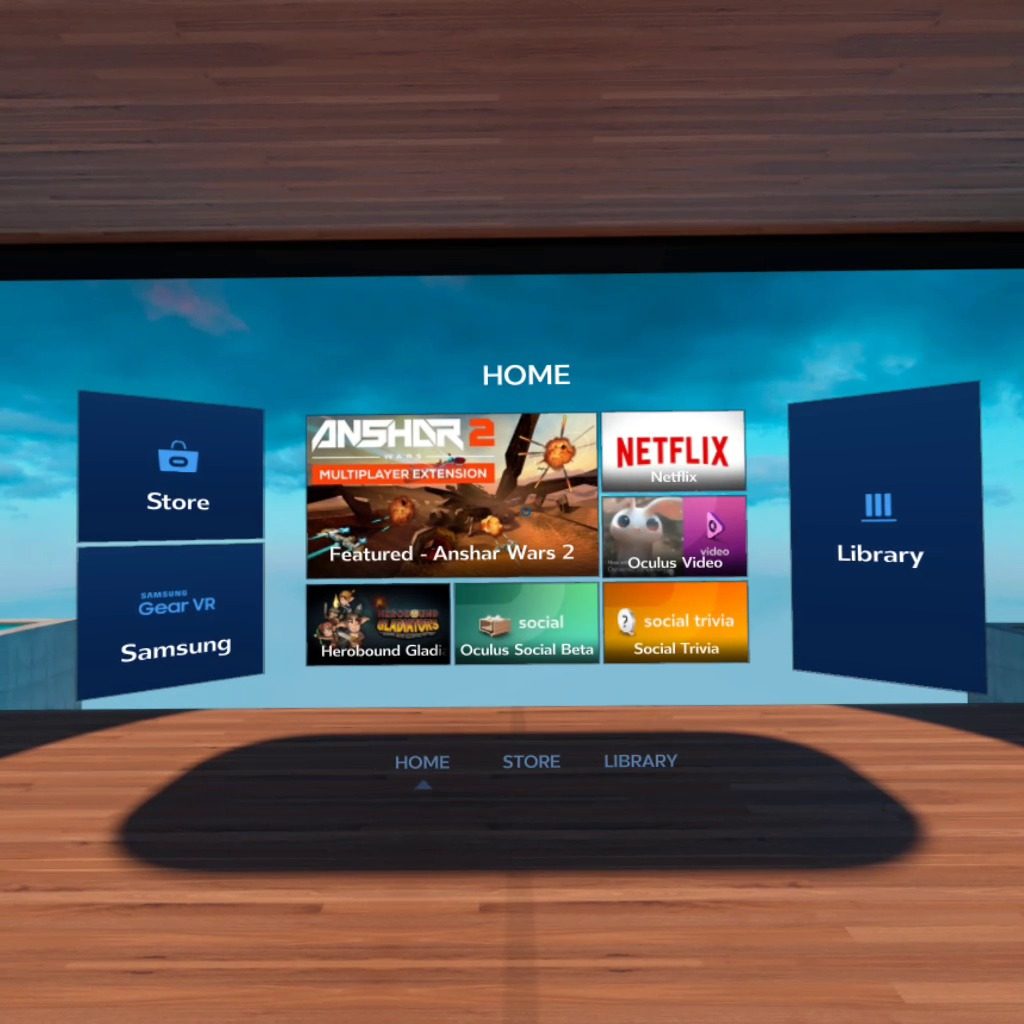
- No streaming video apps, or apps without Universal Menu. Streaming-video apps like Netflix and Oculus Video block the use of both capture functions entirely. While the reasons are obvious, it’s probably the silliest way to pirate anything. Ever. Apps like Oculus Social Trivia don’t have access to the Universal Menu, so you’ll need to rely on another method.
As far as output is concerned, you don’t really have any options to speak of, as you’re given a permanent default of single-eye 1024 x 1024 resolution jpegs and mp4 videos. While the aspect ratio is a bit uncomfortable, it’s certainly more attractive than a stereoscopic capture like in our first look at the new Oculus Social Trivia App. Video is good quality however, and frame rate is very consistent.
Unlike 3rd-party recorders—like the one we use in our first guide on how to record video for Gear VR—the built-in recorder does away with the VR distortion shaders, and also slightly reduces the FOV to 80 degrees, making for a more natural-looking gaming session.
While the new video recording feature is far from perfect, it bypasses a lot of the initial frustration that 3rd party recording apps can cause, which require you to fiddle with internal settings to get a decent result. We hope to see a fix in future updates to the audio recording issue, or at least a friendly advisory that you aren’t capturing audio.