Setting Up the DK2
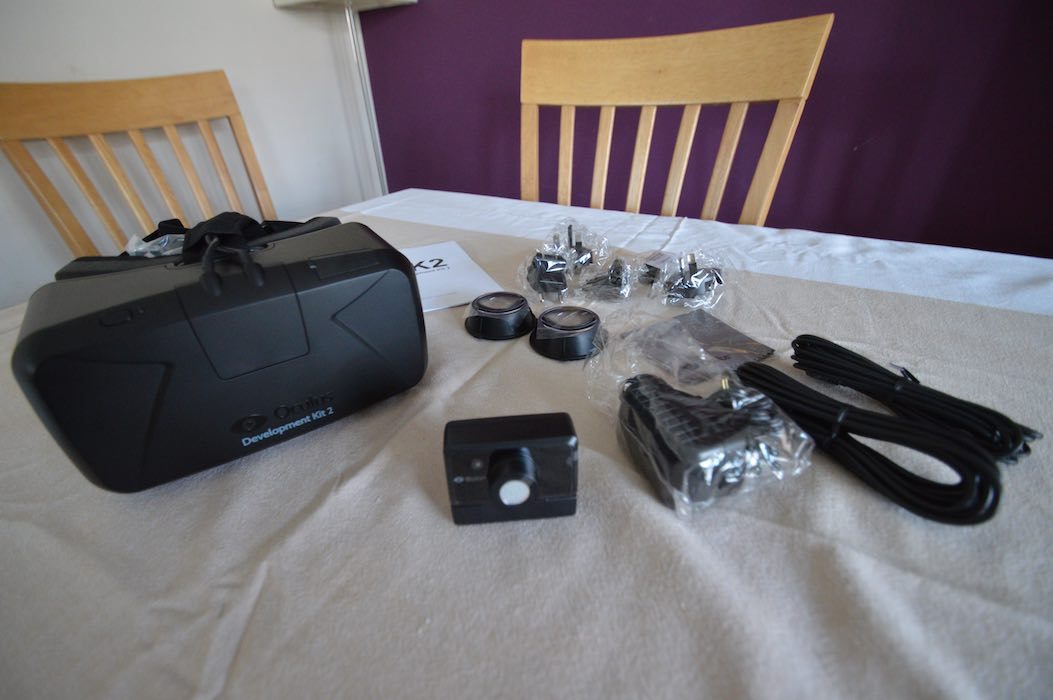
After unboxing, you’ll need to ensure you have at least 2 x free USB slots and one HDMI or DVI port on your GPU. After placing the camera atop my monitor, connecting the USB cable to PC and (don’t forget this one) the 2.5mm jack ended cable (camera sync) between the camera and the cable splitter towards the end of the main DK2 cable. There is an additional AC adapter than plugs into the reverse side of the cable splitter, you don’t need to worry about this until you start plugging in devices to the DK2’s onboard USB hub port that requires a little more juice to power it. As it happens, Oculus’ Quick Start Guide, which comes in the box is well worth following, it’s clear and concise and will save you some head-scratching.
When Oculus stated that they were delaying shipment of DK2 pre-orders in order to polish the SDK, some questioned the decision as over cautious (and perhaps even disingenuous) – but I can tell you that after spending a good few hours trying to get things working, it’s probably better that they did. In fact, receiving the DK2 so early has turned out to be a mixed blessing. On the one hand I have the kit, on the other, out of the box – almost nothing works. In fact, aside from the included Oculus World (Tuscany) and the Config Utility Scene, you’ll be hard pushed to find anything that works with the current software. This however is changing rapidly and the developer community is already springing into action, compiling their old demos against the new 0.40 SDK.
As of the latest SDK release (0.4.0 beta, released today as DK2s hit people’s doorsteps), Oculus have chosen to separate the device’s functional components (i.e. drivers and config software) into a separate piece of software, known as the ‘Oculus Runtime’. This component provides: drivers for the positional tracking camera and what’s known as the OVR Service. The latter component seems to be key in enabling the latest SDK’s most interesting new feature – ‘Direct Rendering Mode’.
New Rendering Modes in SDK 0.4.0
Now, with the latest SDK there is another option: ”Direct Mode’. It effectively hides the VR Headset from Windows as as display device, so no more fiddling with desktops and resolutions. When a game compiled against the SDK is launched, the OVR service intercepts calls to the headset and sends a Rift specific video signal direct to the HMD. So, you end up with a windowed application running on your standard desktop (with a duplicated view) and a native resolution feed on your HMD. This is an excellent step forward for Rift users. Not only does it ensure the DK2 runs at the optimal frequency and resolution (1920 x 1080 @ 75Hz) but it takes all the guesswork out of the experience, bringing the solution closer to what would be expected of a consumer experience.
New Oculus Config Options and The New Oculus Config Test Scene
Once you’re happy with your IPD configuration / calibration, you can quickly check your setup by launching the brand new application which includes positional tracking support. The scene is simple but actually serves as a great way to demonstrate the power of positional tracking with the DK2. It places you in front of a desk with various objects on it, after selecting whether your stood or seated, you can go ahead and lean in to the scene and check the camera’s field of view bounds are sufficient – you can even enable a visual representation of the camera’s current field of view limitations which is updated in realtime as you move your head around – useful.
Another new addition is the ability to align the utility with your units retraction assembly settings. That is, you can adjust a dial in the config utility to match the two dials on the side of the Rift which control the units retraction assembly (how far the lenses and display sit from your face). It’s not clear how this information is used, but I assume further tweaks to the rendered view (IPD, chromatic aberration correction etc.) are made based on the info.