Not everyone can drop a few hundred dollars on a VR headset, but that doesn’t mean they can’t experience VR! For those with the time and a bit of handiwork skill, this DIY guide from guest writer Ohaple will show you how to make a smartphone-based VR headset for as little as $20. Along the way, you’ll learn the hardware and software basics of a VR headset.
Update (1/21/2016): An update to this guide provides new methods for lower latency gameplay using wired display mirroring software and a gyroscopic mouse for headtracking. Check it out here. Original guide continues below.
Virtual reality is on its way into the mainstream. As we see huge shifts such as the Oculus-Facebook buyout and Sony’s Morpheus VR headset prototype, virtual reality is making its way into the hearts and minds of gamers everywhere. One problem still stands between the average consumer and a fun virtual reality experience: cost. Whether you follow a guide to create a DIY Oculus Rift or go out and buy the Oculus Rift DK2, you will find your wallet a few hundred dollars lighter. For those wanting a less expensive way to experience VR, using an existing smartphone for the basis of a VR headset greatly reduces the cost. In this guide, I’ll show you how to make your own smartphone-based VR headset.
This DIY VR headset (also known as a head mounted display or HMD) takes a few hours to setup, and will cost somewhere between $20-$50 depending on how you source your parts and whether you want additional programs or controller support. If you already have a Durovis Dive, or would like to buy one, this project can be used with the Dive as well, just skip to the LED installation portion.
The Basic Concept:
- We will build a cheap and easy HMD, similar to the Durovis Dive.
- We will use our computer to play stereoscopic 3D games. These can include Oculus Rift games, game mods (such as Minecrift), or games compatible with TriDef 3D, which takes 2D games and plays them in stereoscopic 3d.
- We will then use our iOS or Android device as an external mirrored monitor to view the game in the VR headset.
- Using an LED, we will establish head-tracking to control your computer’s mouse, and consequently your character’s head position in-game.
1. Measuring and Cutting
Parts and Tools:
- (1x) Sheet of black foam board
- Hot glue gun and hot glue
- (1x) Pair of full metal frame reading glasses (for the frames only)
- (1x) Pair of magnifying lenses. I used the frontmost lenses from a pair of binoculars ($3 at a thrift store) but if you are going to source them on the net, look for aspheric lenses with 5x magnification and about 1-2 inch diameter.
- 4 feet of inch wide elastic
Dimension Overview:
First, you need to determine how far your phone will need to sit from your face. Use your lenses to measure about how close the lenses give a good crisp focus. Mine took about 2 and 1/8 inches. This is the distance from your lenses to your display.
Measure the width of your reading glasses hinge to hinge onto the foam board. This will be the width of your HMD. Now that you have the focal length and the width, cut out 2 pieces of foam board as wide as the glasses, and 1.5x as long as the focal length. This is the top and bottom. of the unit. You can also make the bottom piece 1/4 inch longer than the top, to allow a shelf for the phone to sit on. If you don’t. you can add it as a separate piece later.
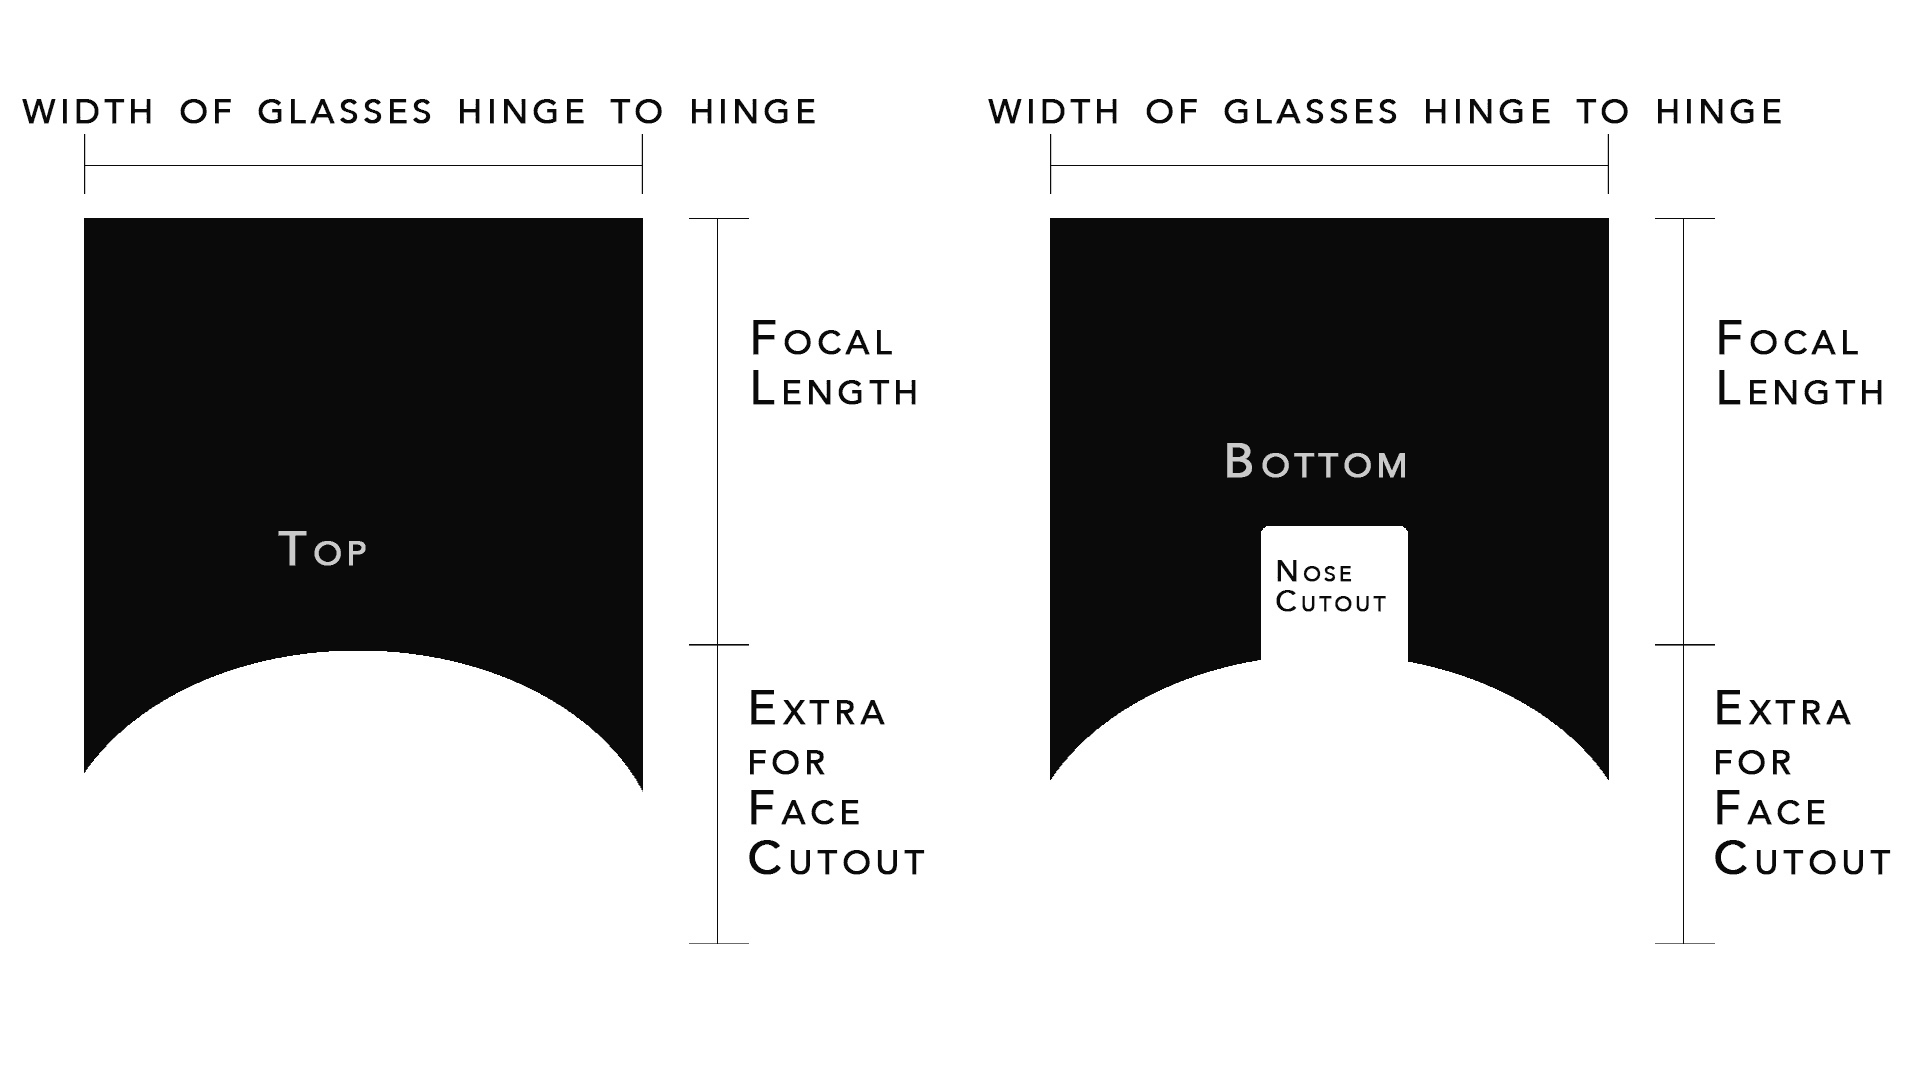
Use a plate, or other round object to draw out a semi-circle on the top and bottom pieces. This is to allow it to fit nicely to your face. On the bottom piece, cut out an extra inch or two in the middle to allow venting under your nose (if you don’t, the lenses will fog when you breathe through your nose).
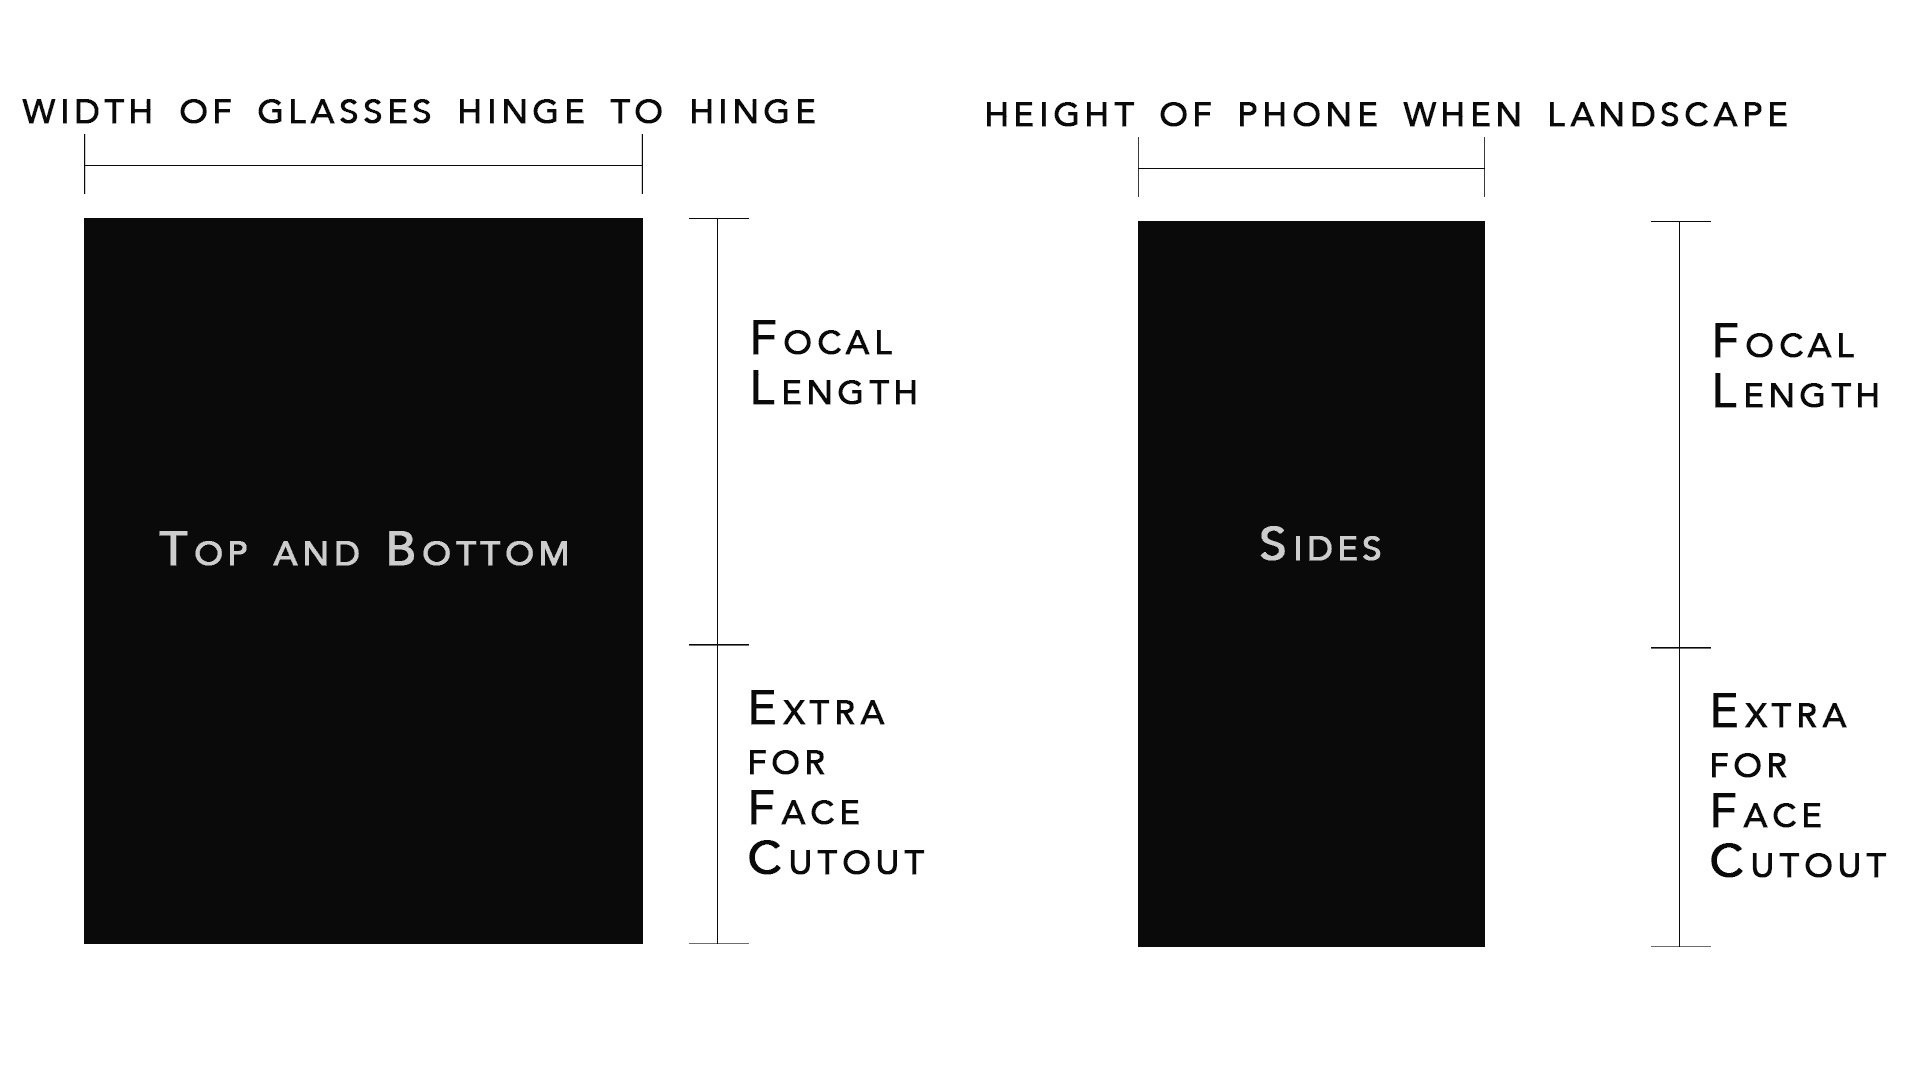
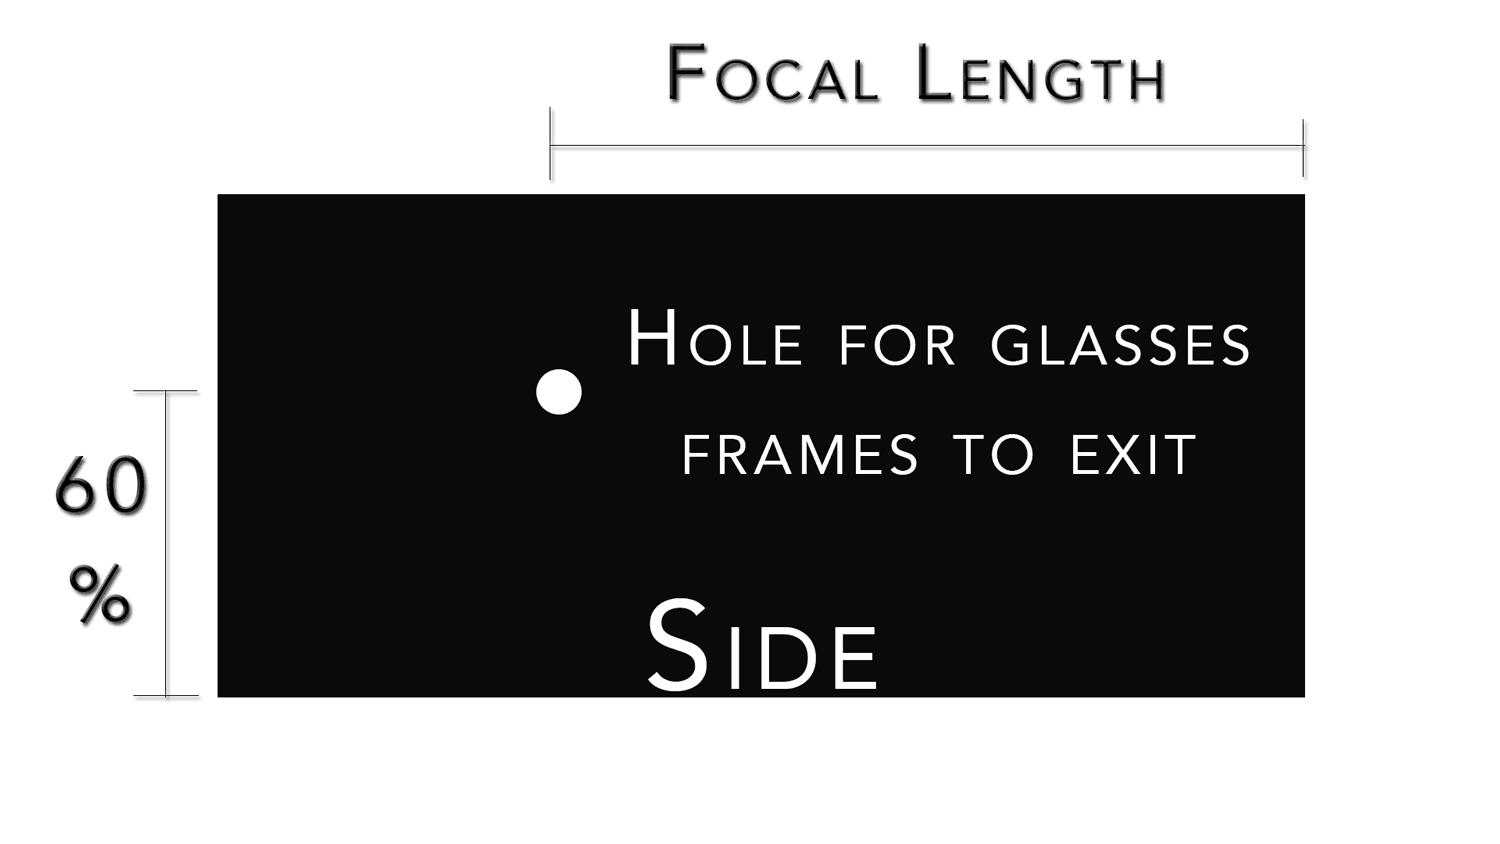
Cut out 2 side pieces. They should both be as long as the top and bottom are (1.5x the focal length), and as tall as the front pieces are (the height of your phone in landscape mode. Mark the focal length on these pieces.
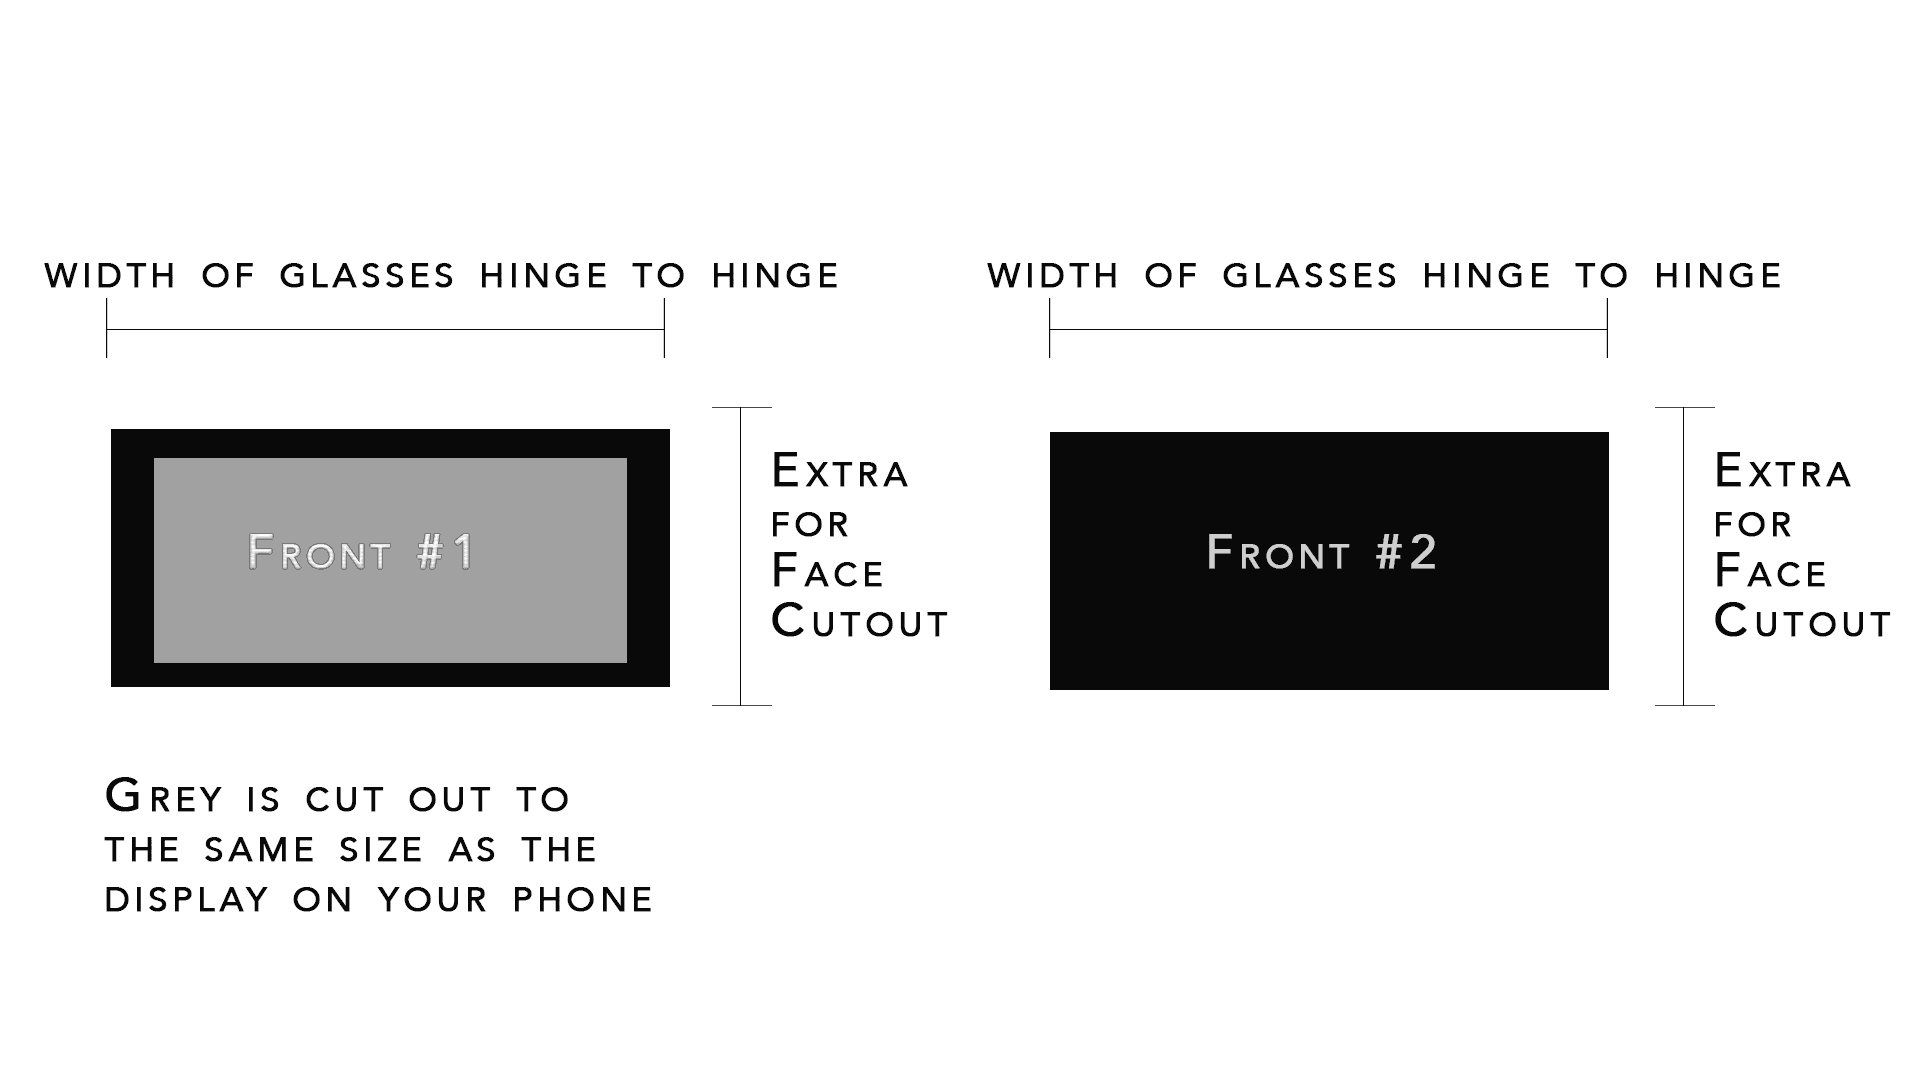
Cut out 2 front pieces. One of them will be solid, used to cover the back of the phone (to prevent false positive light sources from reflections on the gloss back of the phone). This is not needed if the back of your phone is non-reflective, or if you have a non-reflective phone case. The second one will have a hole cut in it the same size as the display of your phone, centered. These should be as wide as the top and bottom, and as tall as your phone is when in landscape mode.
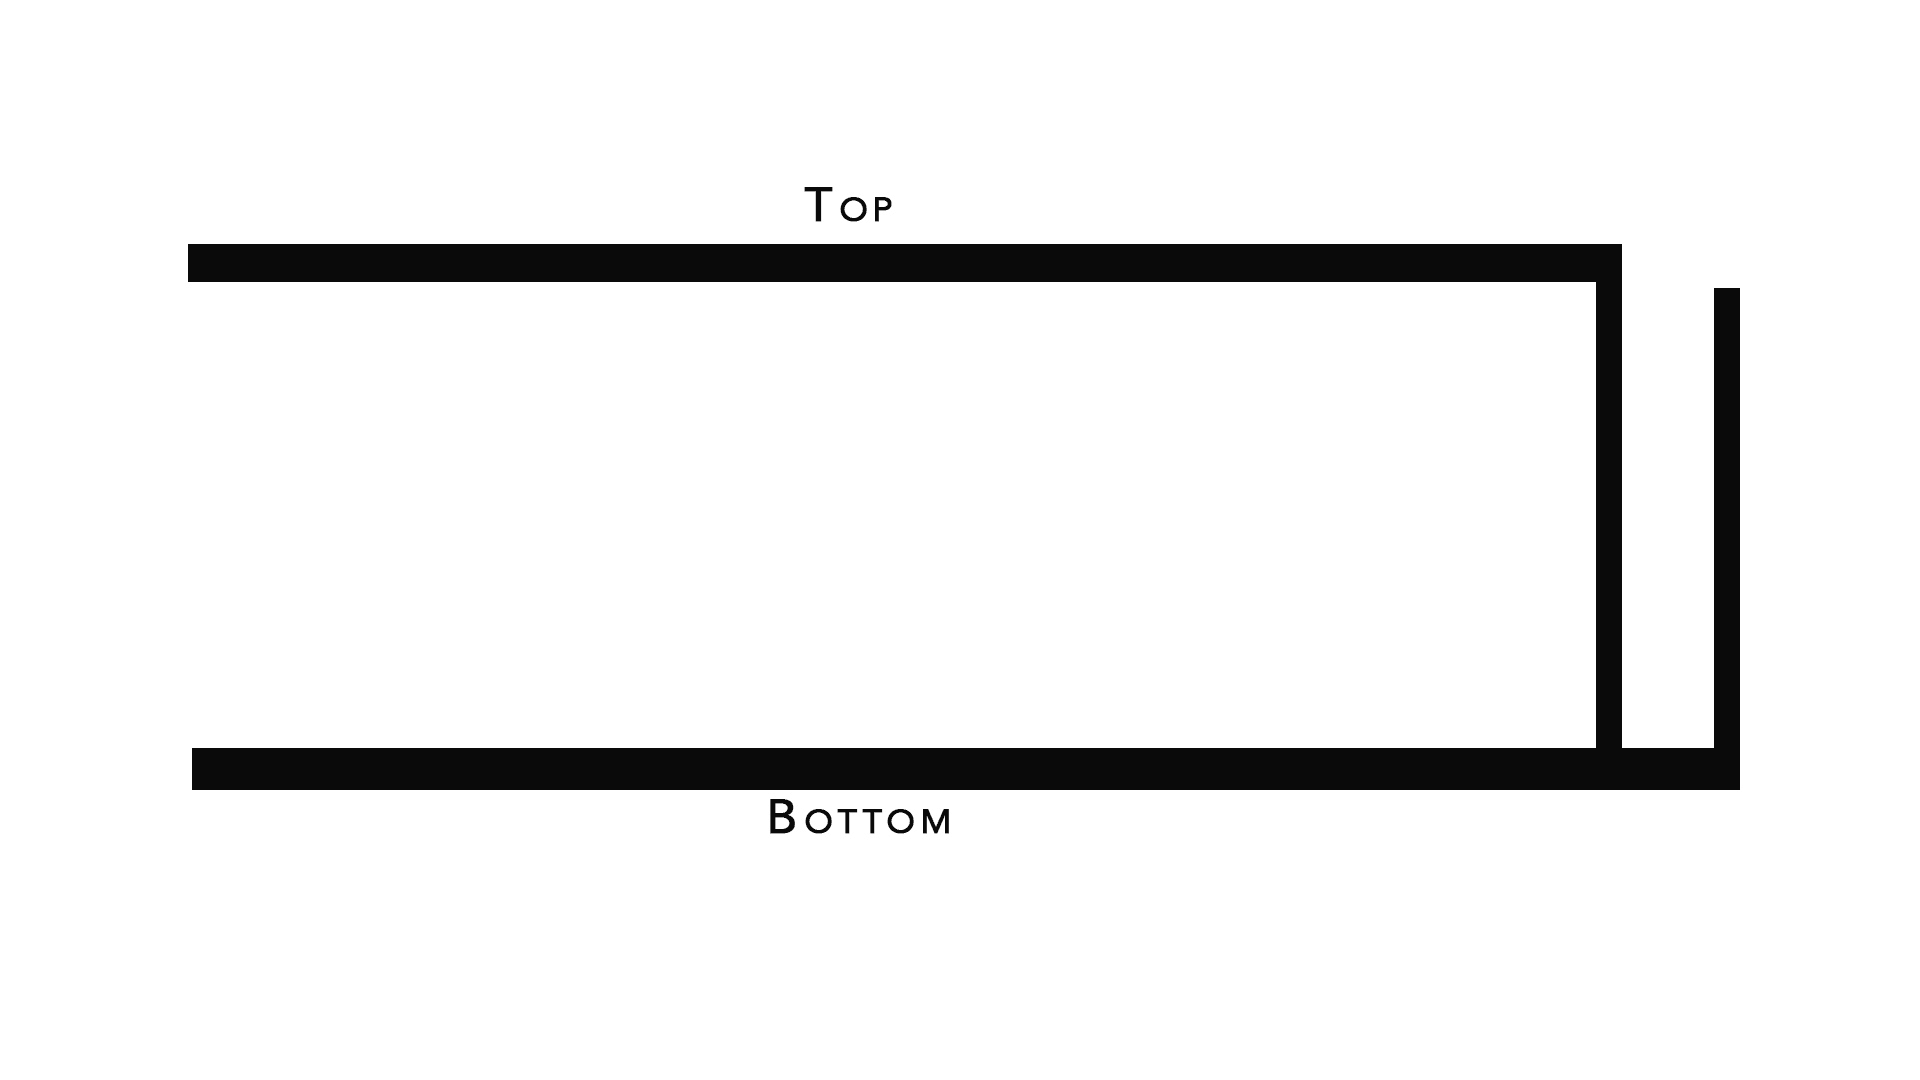
You have all of the foam board cut out to size. Using hot glue, secure the top and bottom to the two sides. Then add the front piece with the cutout, and glue it in place. Make sure that you have left a shelf for the phone to sit on on the bottom piece, or add one now to the very bottom of the unit. This is to prevent your phone falling out the bottom. Glue the second front piece onto the edge of this shelf, making sure there is still room for your phone.
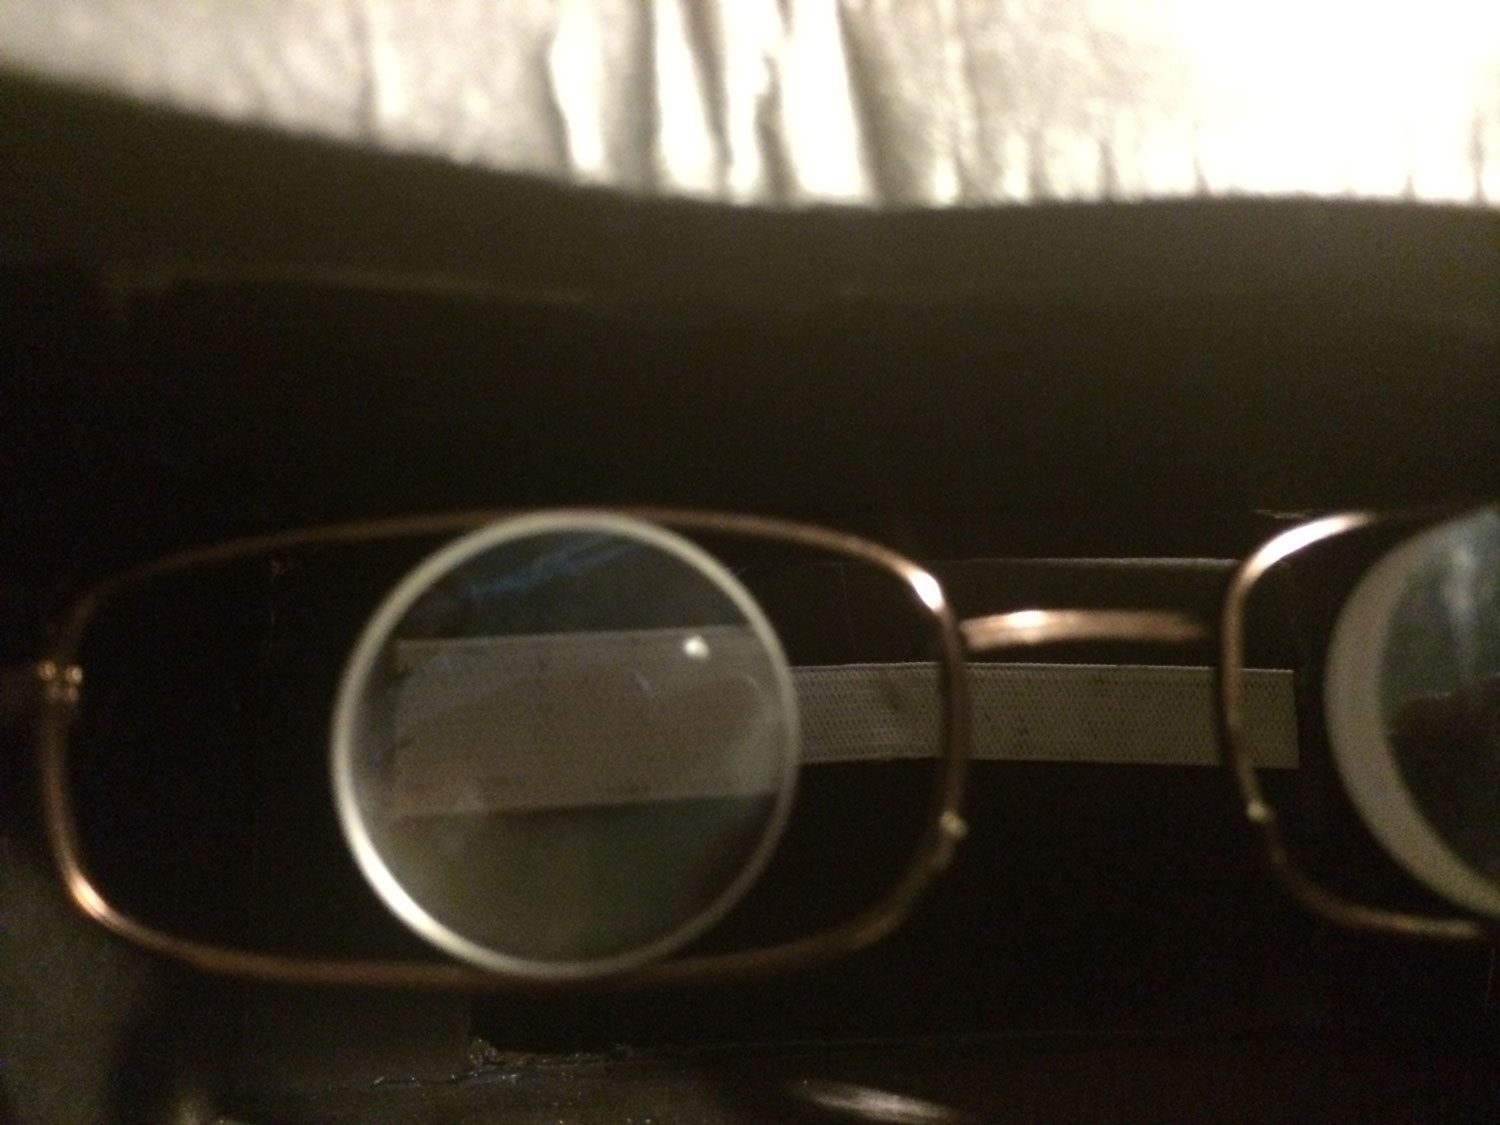
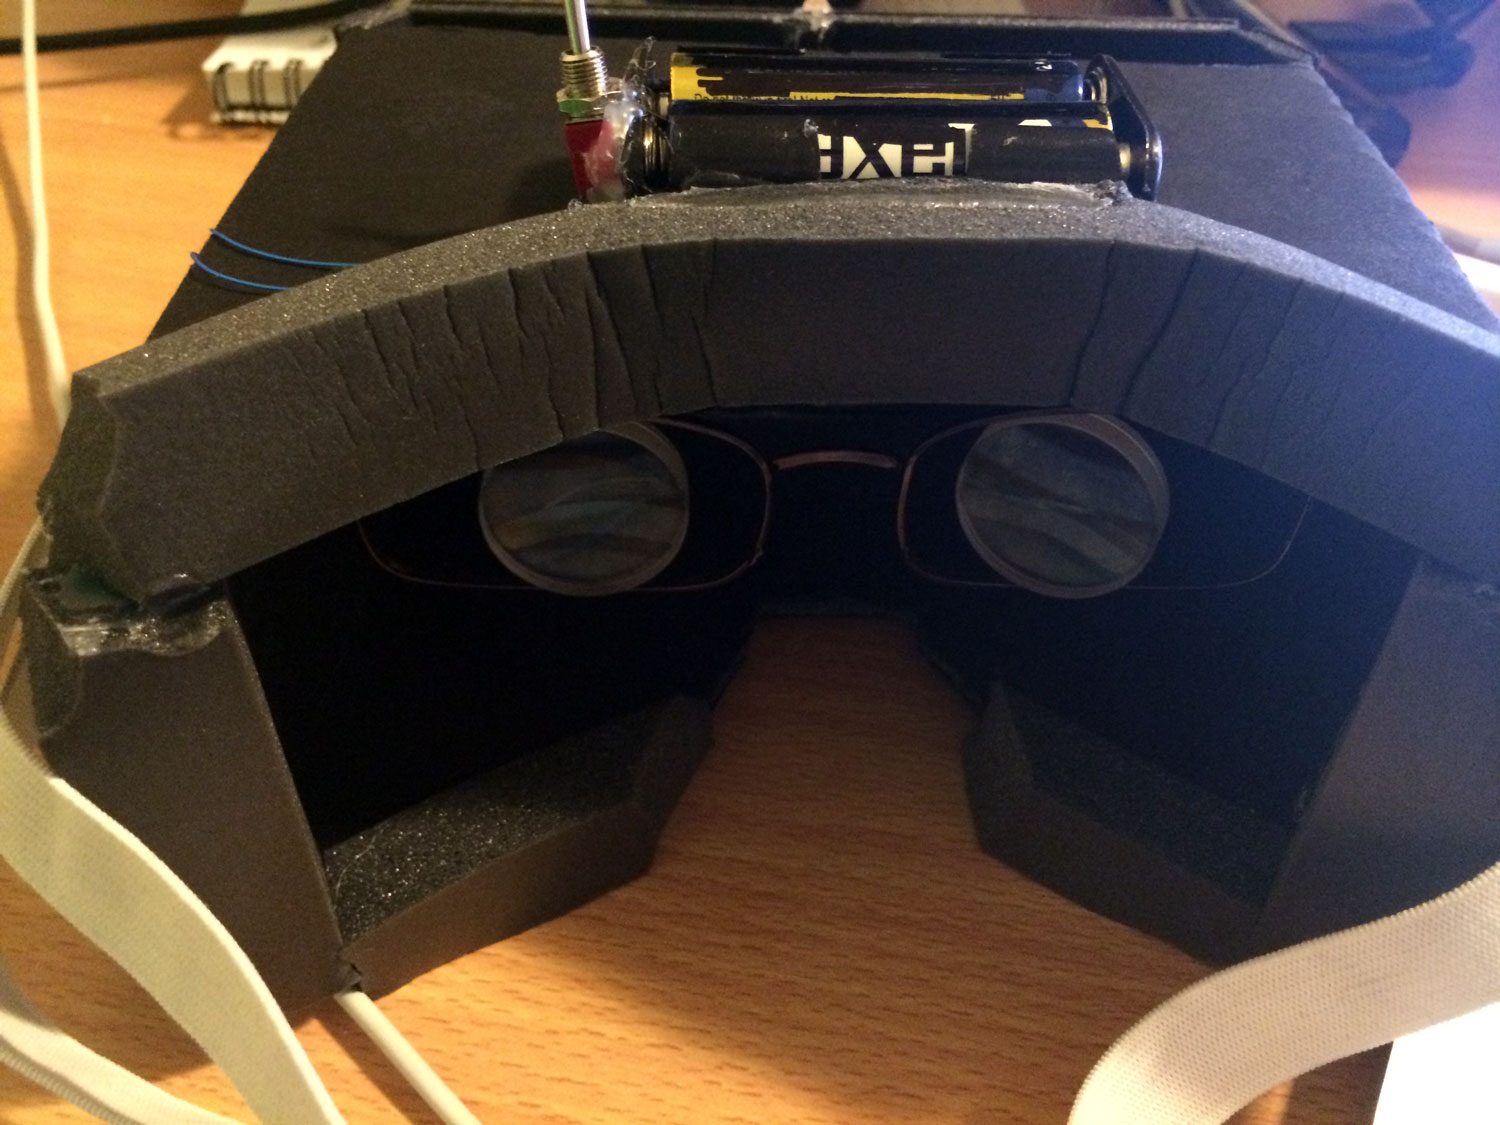
Pull the lenses out of the reading glasses. Pressure fit your new lenses into the frames, and glue in place.
Now for the lenses and elastic. Holes should be cut approximately 1/2 way up the side panels, at the focal length of your lenses.
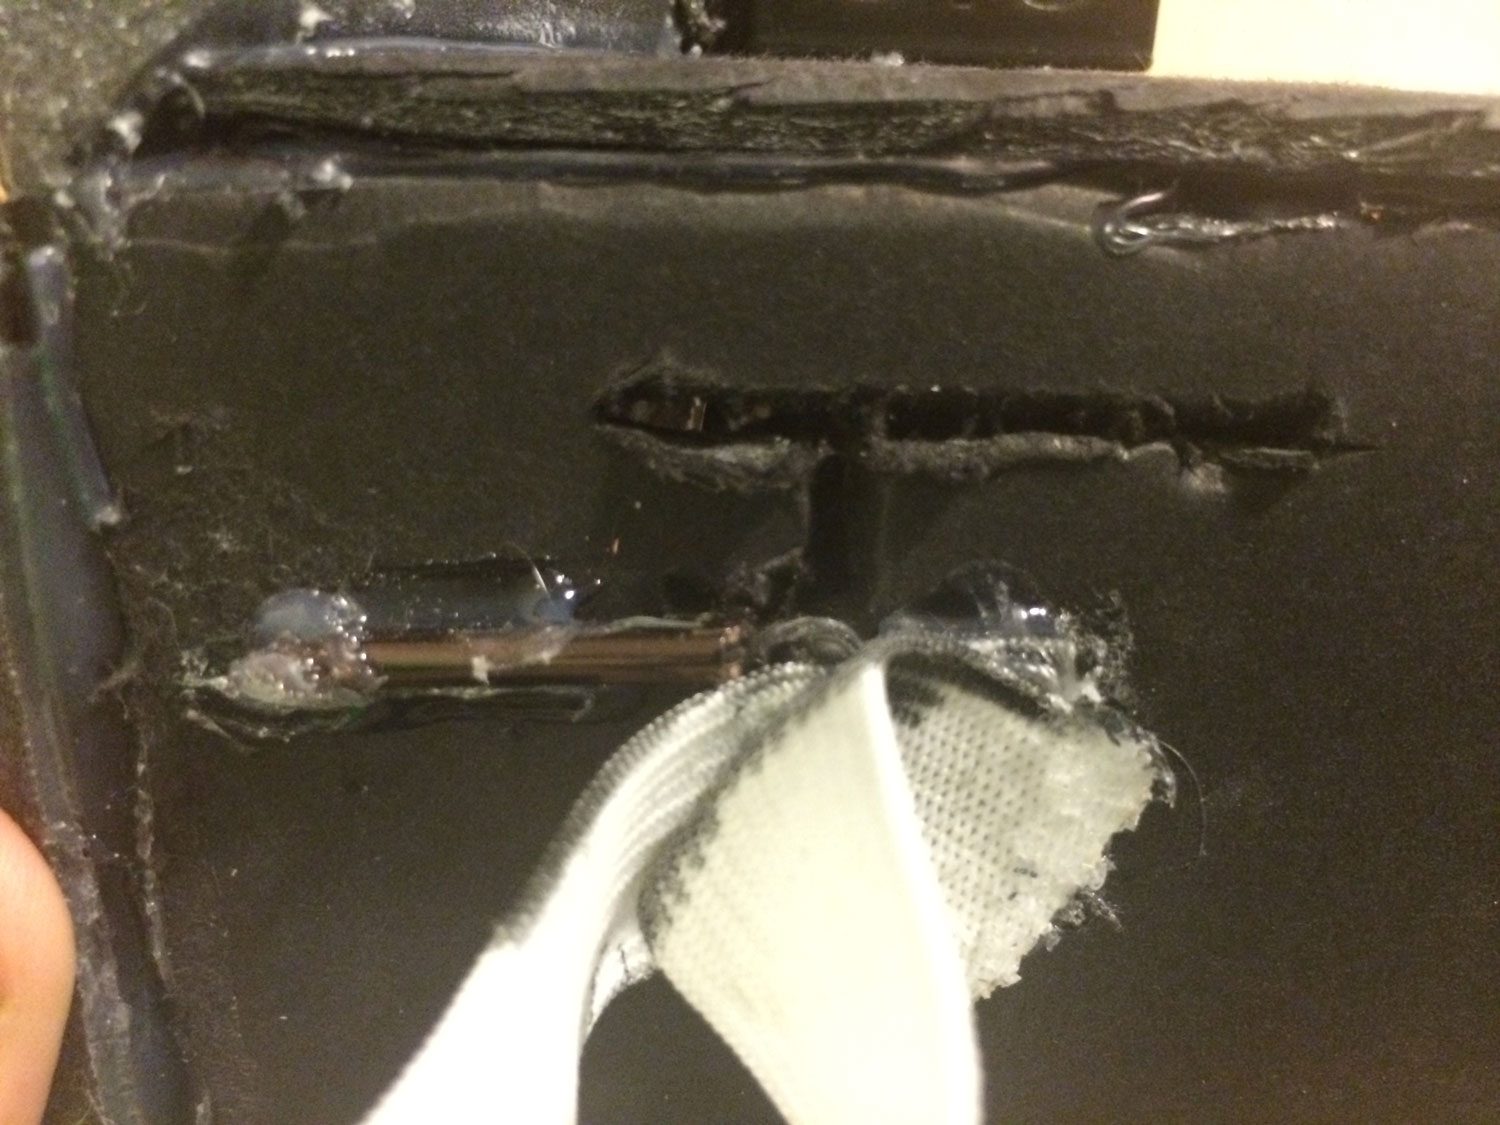
Now cut the glasses at the hinge, and fit them through the two holes. Glue in place.
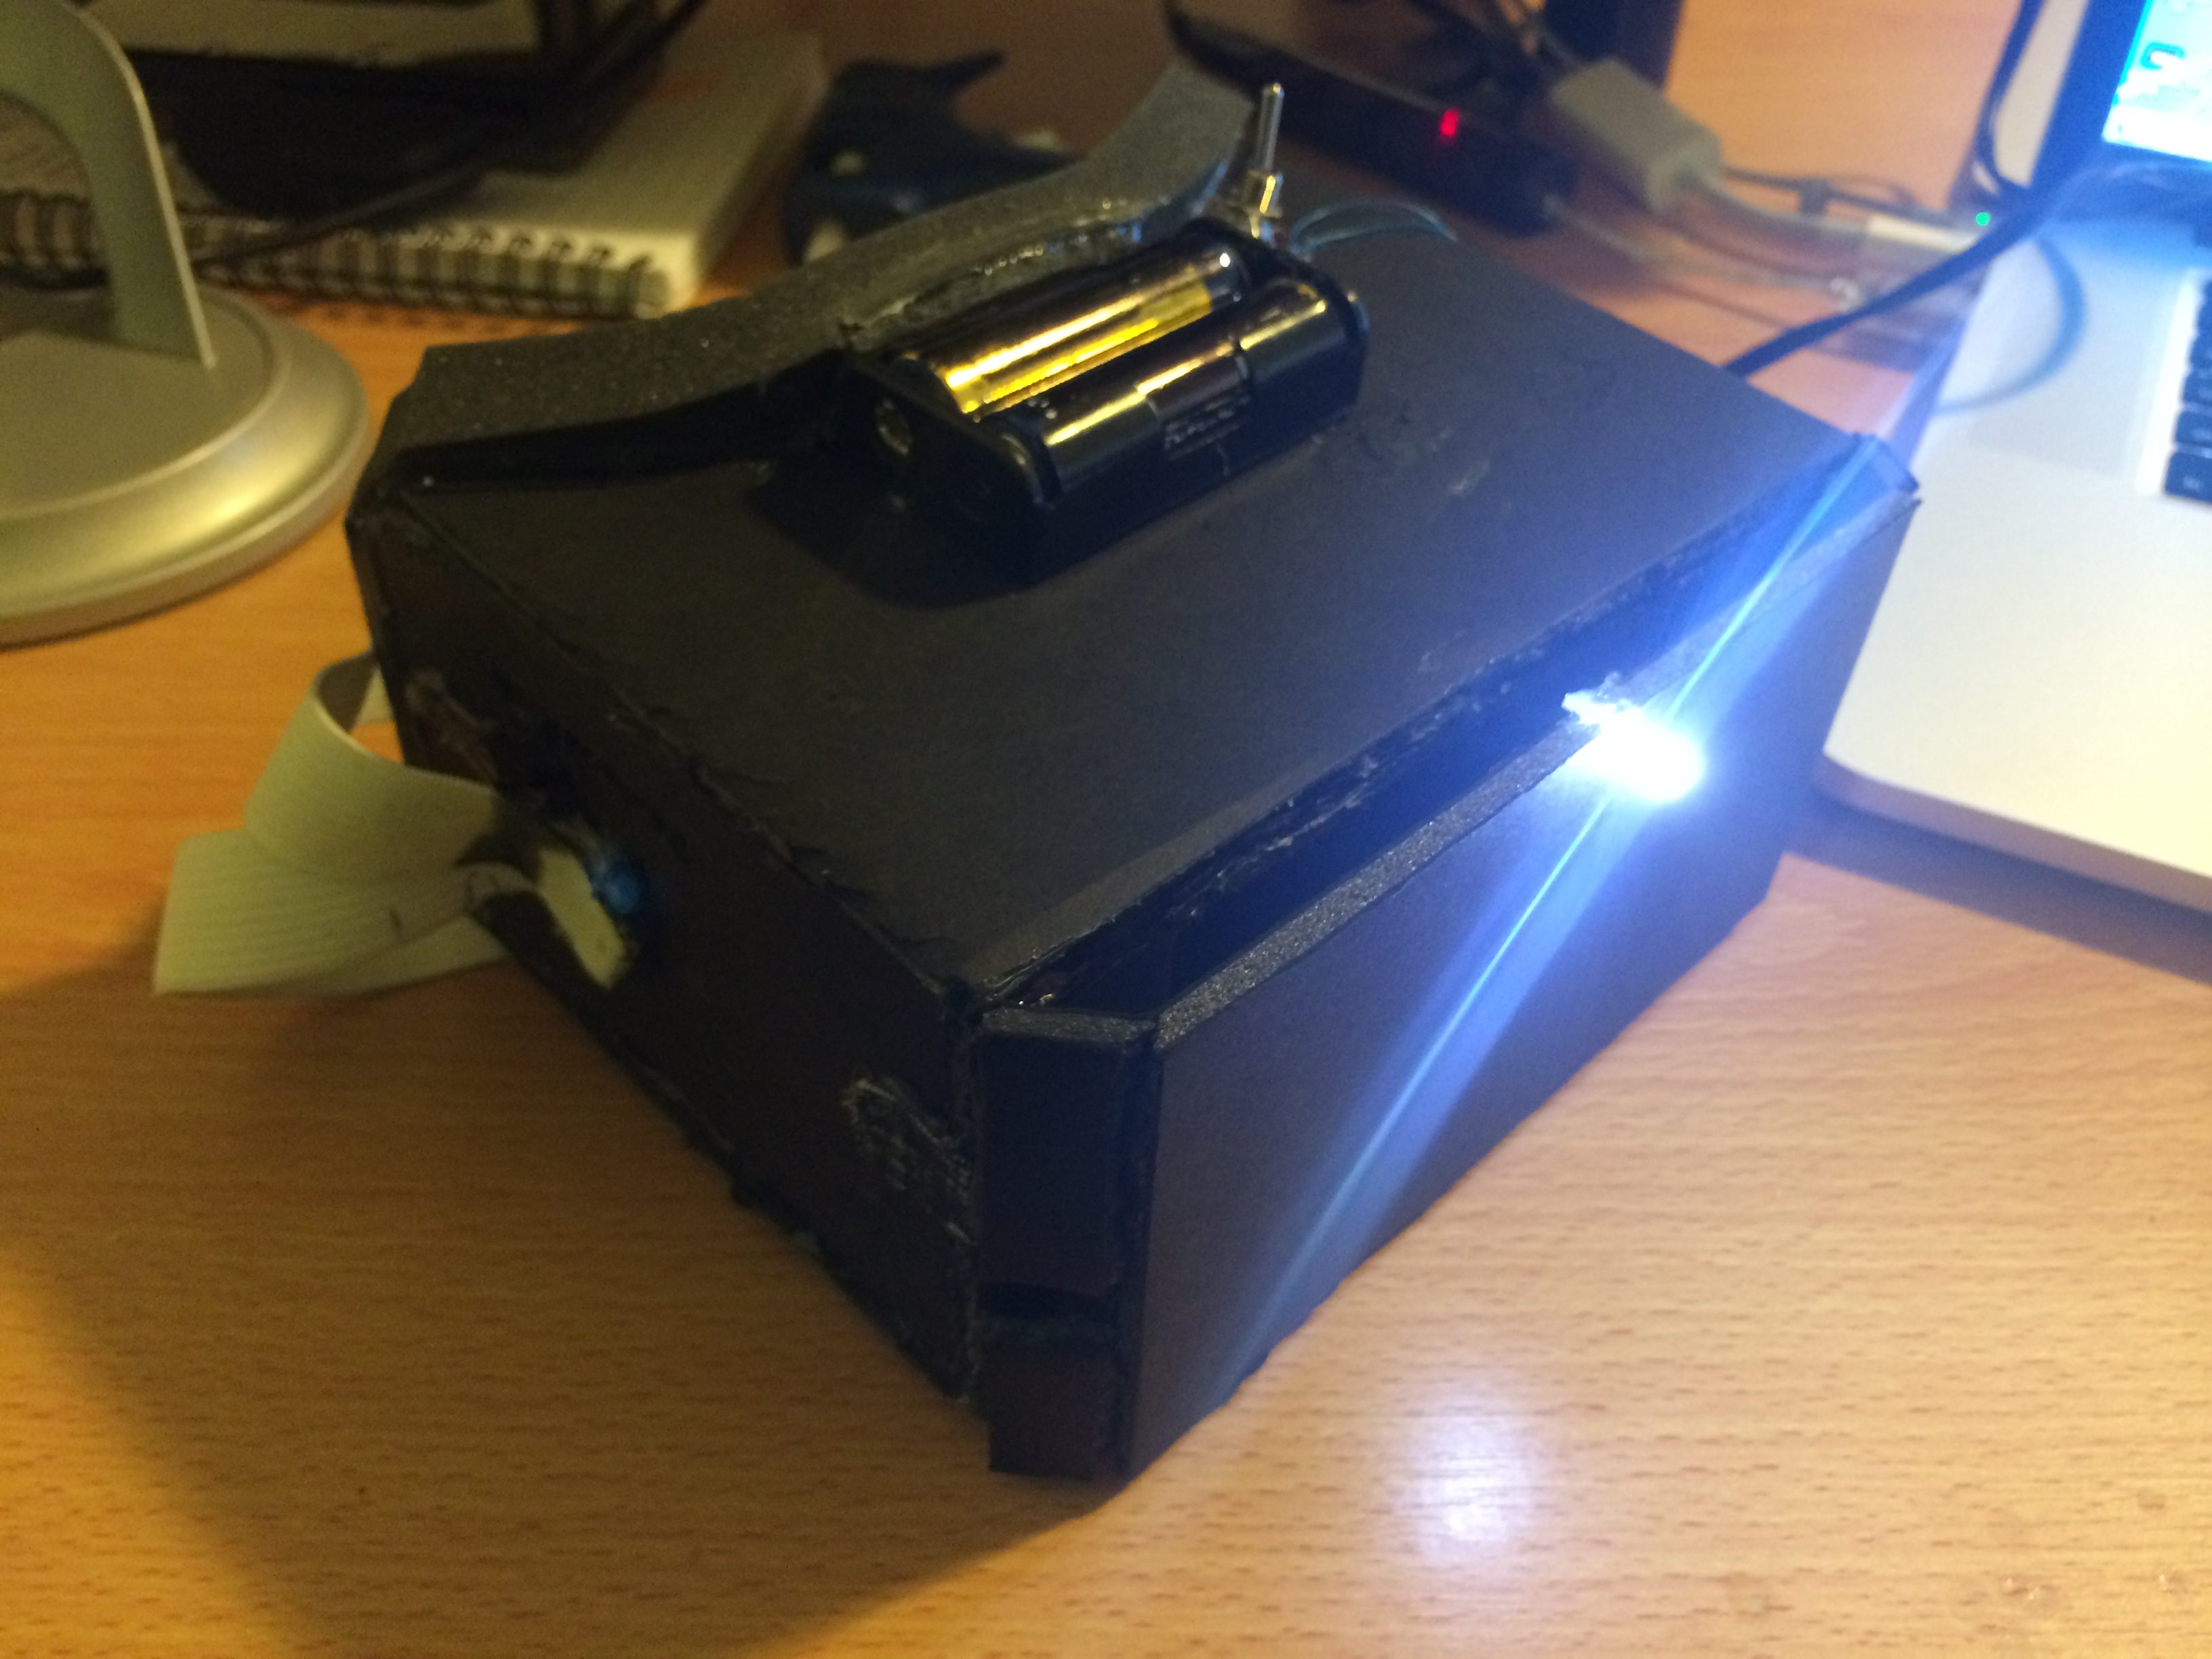
For the phone holder, glue a strip of elastic across the front of the unit. Be sure not to cover up where your phone charges, as you may need to plug in when you play long sessions. For the headstrap, secure a length of elastic to both sides using hot glue. Two strips may be required to hold it secure. You now have your completed HMD. Now to solve head-tracking. Put the phone in the elastic at the front, put it on, and see how it works. Go to the Durovis Dive website where you can find many apps intended for phone only so you can see how it works.